In this guide, I will walk you through installing Hyper-V on a Windows 11 computer running Pro or Business version of Windows. If you run Windows 11 Home edition, you will need to use another hypervisor like for example VirtualBox from Oracle.
First we need to add the Hyper-V feature to your Windows installation. It is not installed by default but it is really easy to add.
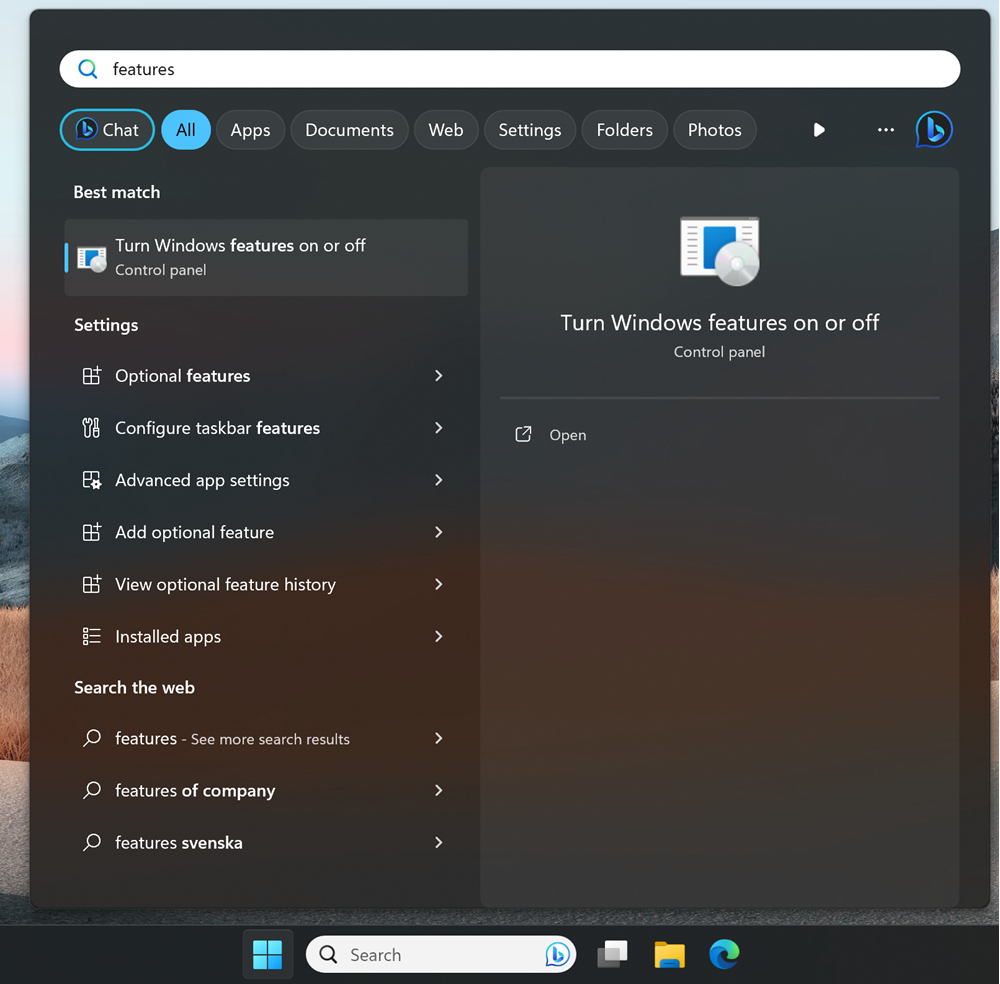
Press the Windows button (or put your text cursor in the search field beside the Windows button) and just type the word “features” and choose “Turn Windows features on or off”.
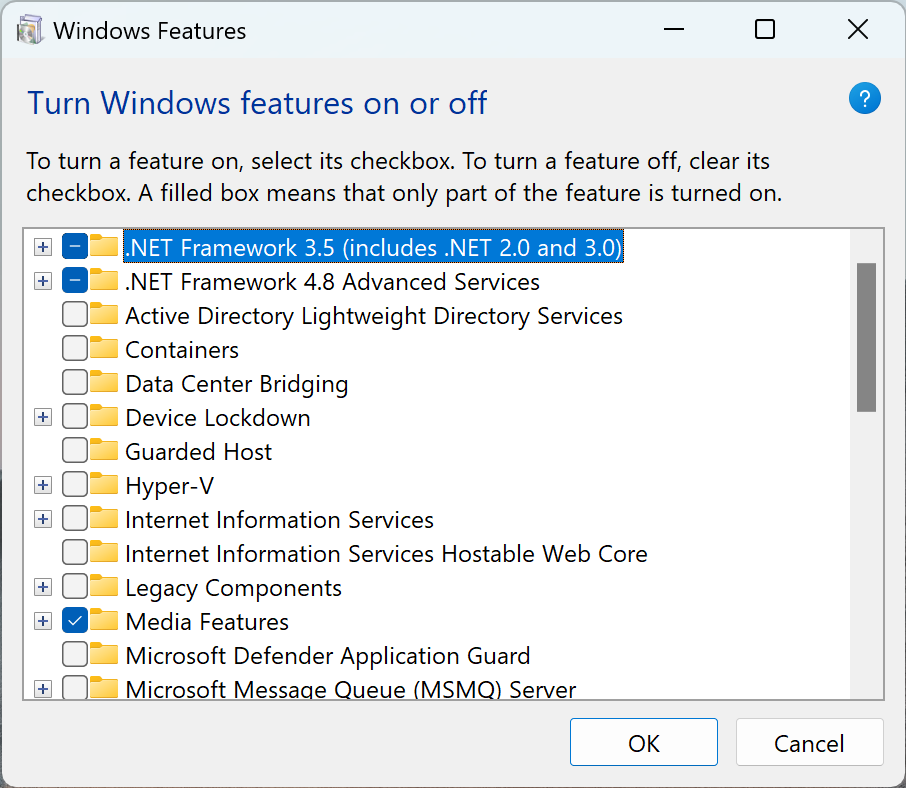
You will then see the “Windows Features” window
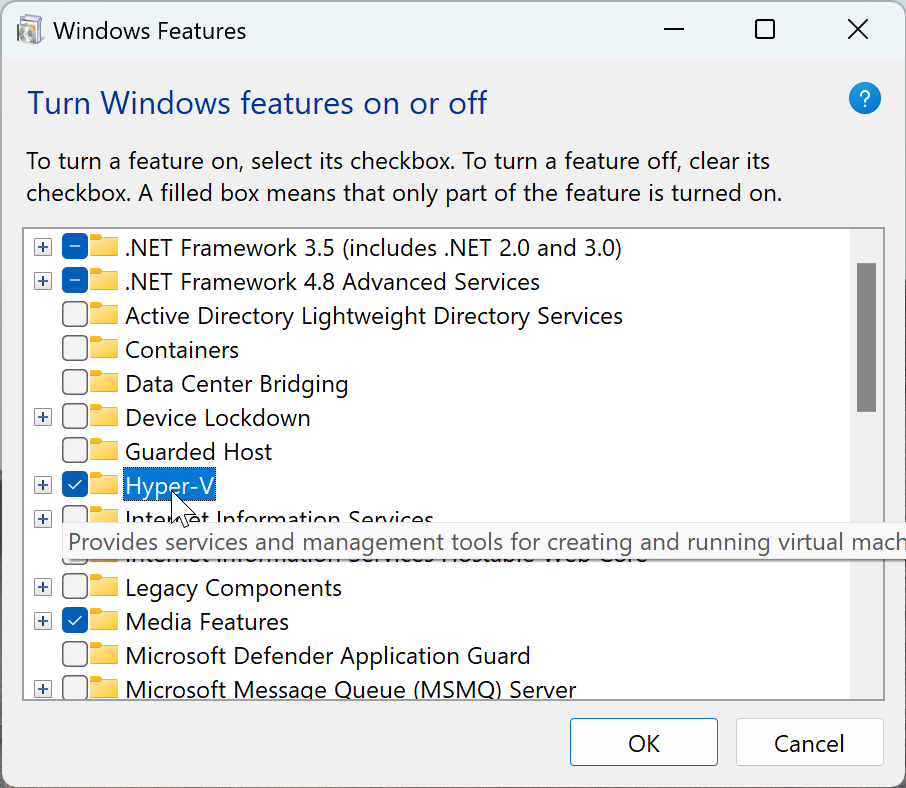
Mark the checkbox beside the “Hyper-V” feature and press OK
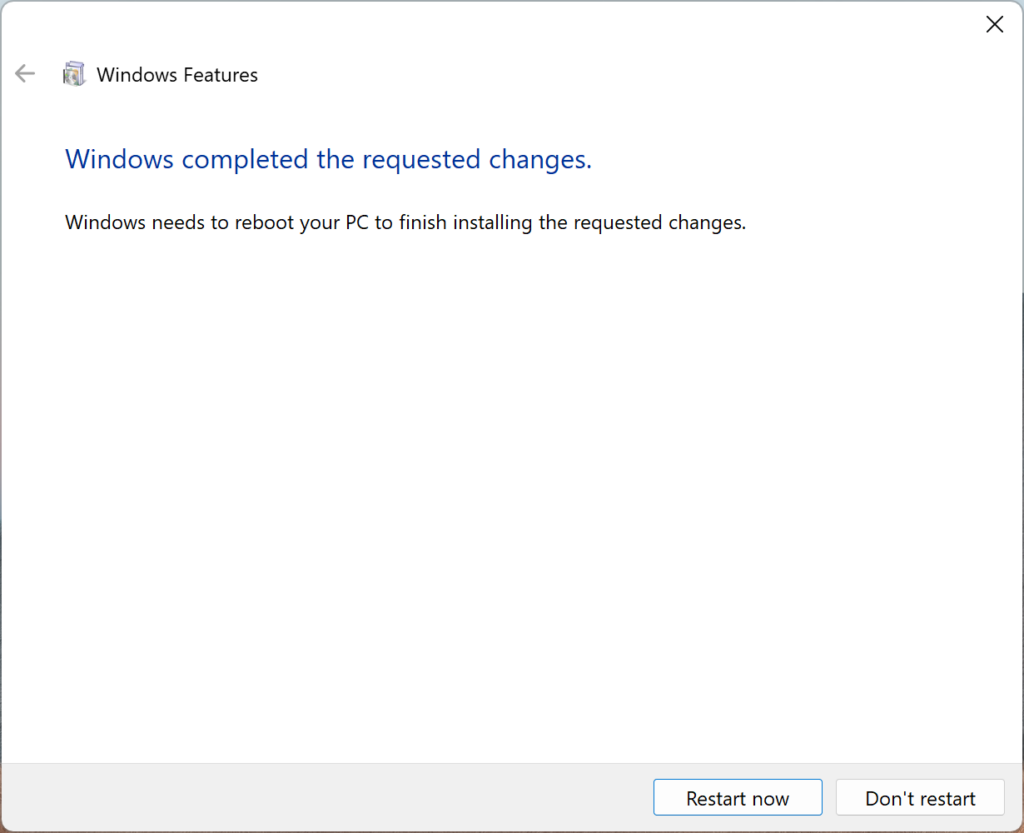
When the feature has been installed, the computer needs a restart. If you are ready to restart your computer, press the “Restart now” button. Hyper-V will not work until you have performed a proper restart of the computer.
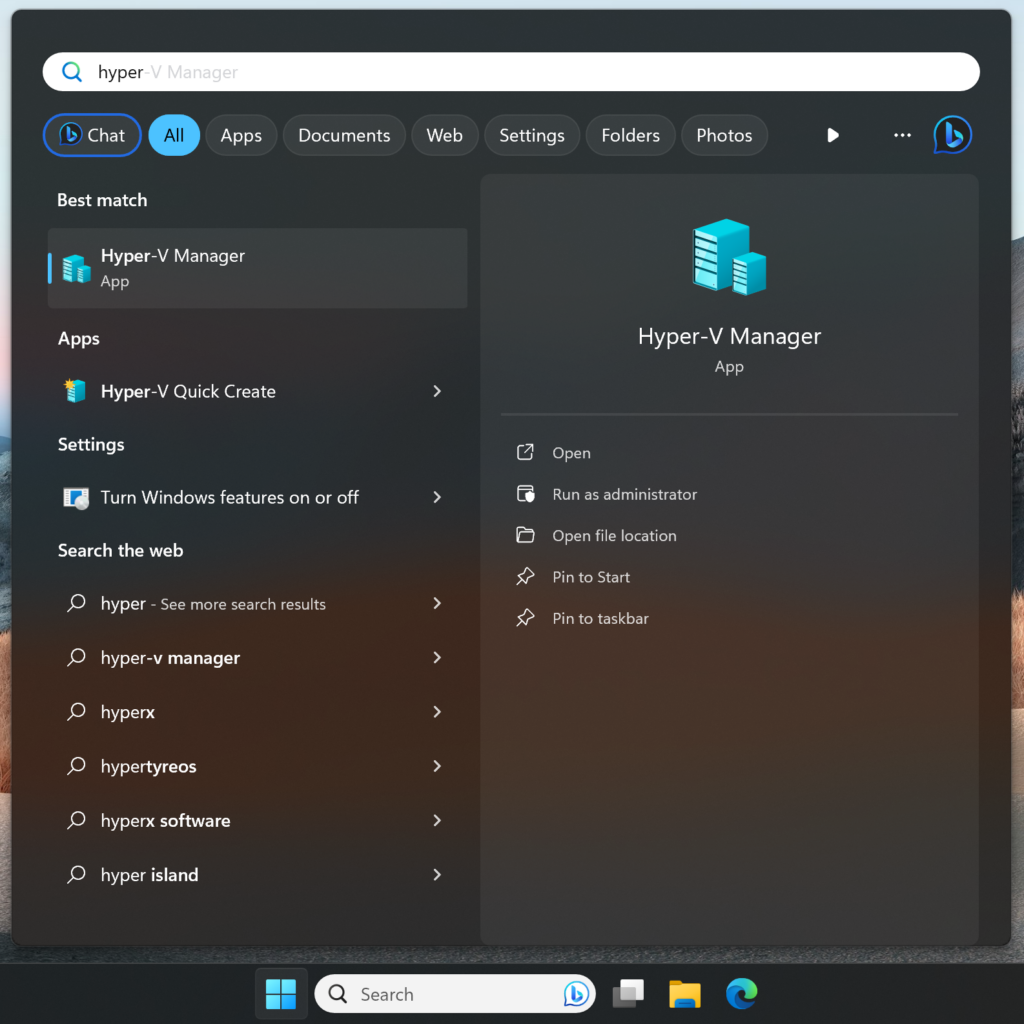
You will now be able to start the program “Hyper-V Manager”
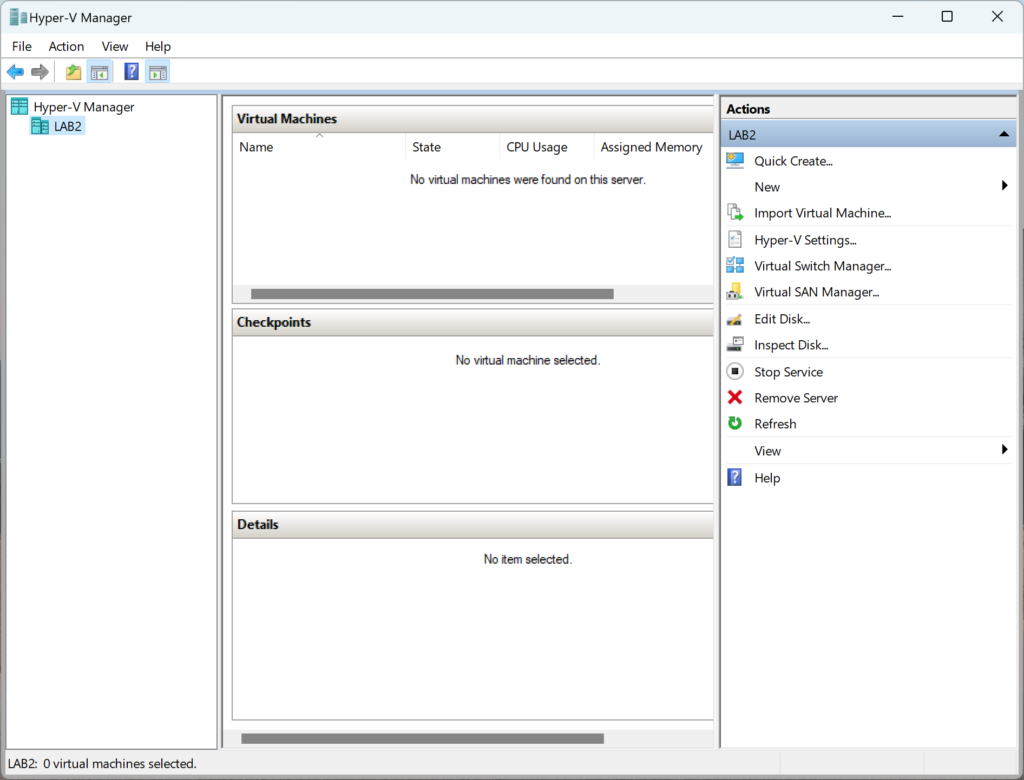
In the Hyper-V Manager, choose your computer. If it is not there, right click the Hyper-V Manager in the upper right and choose the current computer.
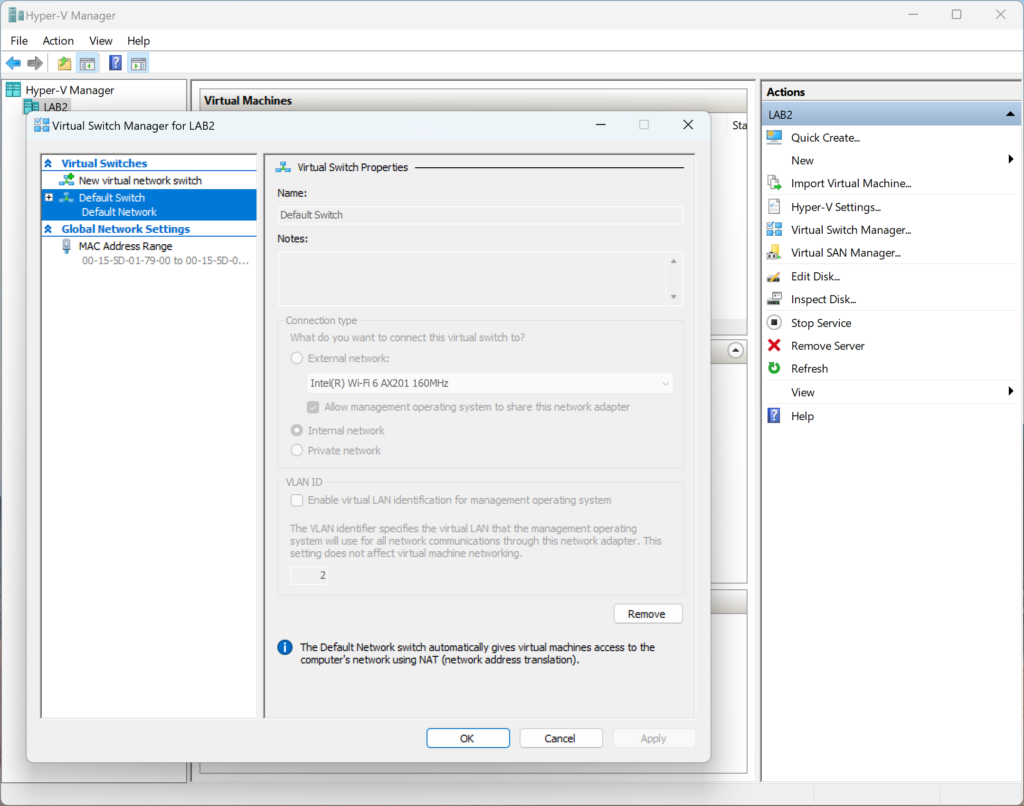
In a standard installation of Hyper-V there is a virtual switch named “Default Switch”. Computers connected to this switch will only be accessible by your current computer. Lets create another virtual switch that can be accessed by other computers on your network.
Choose “Virtual Switch Manager” in the menu to the right.
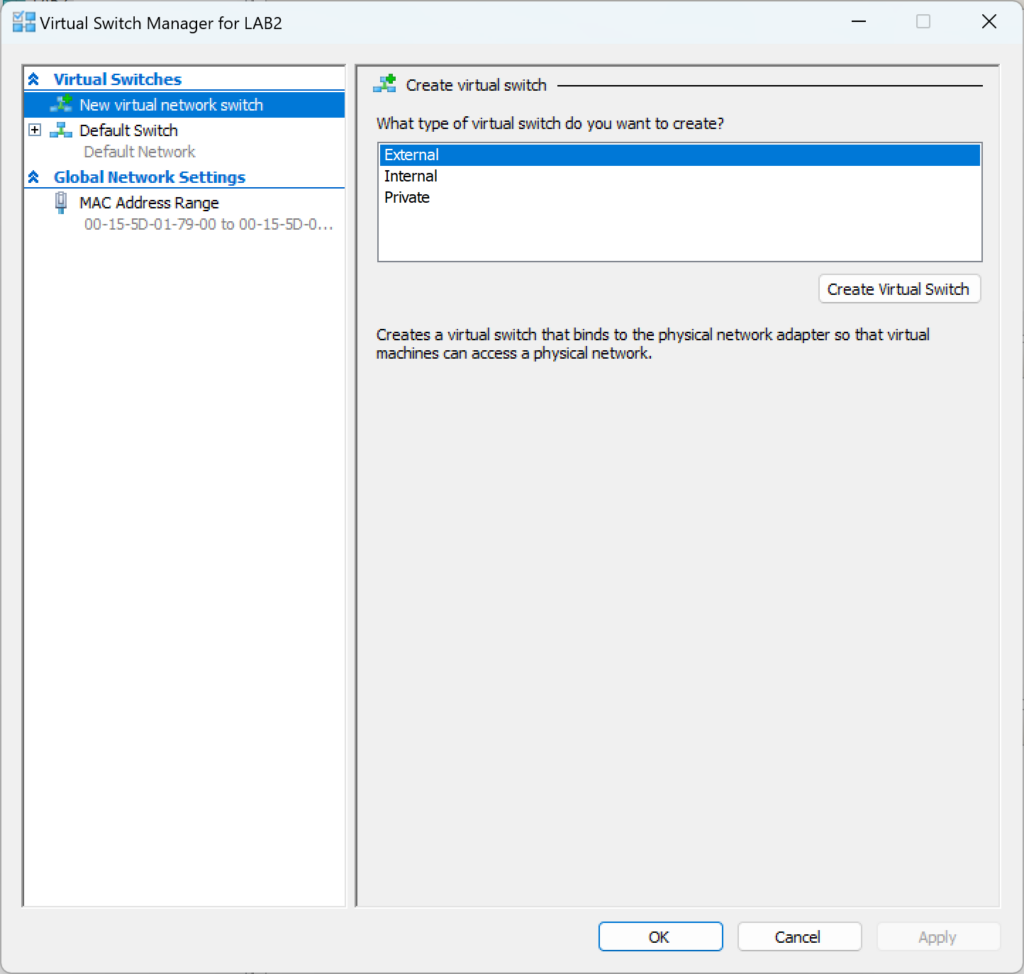
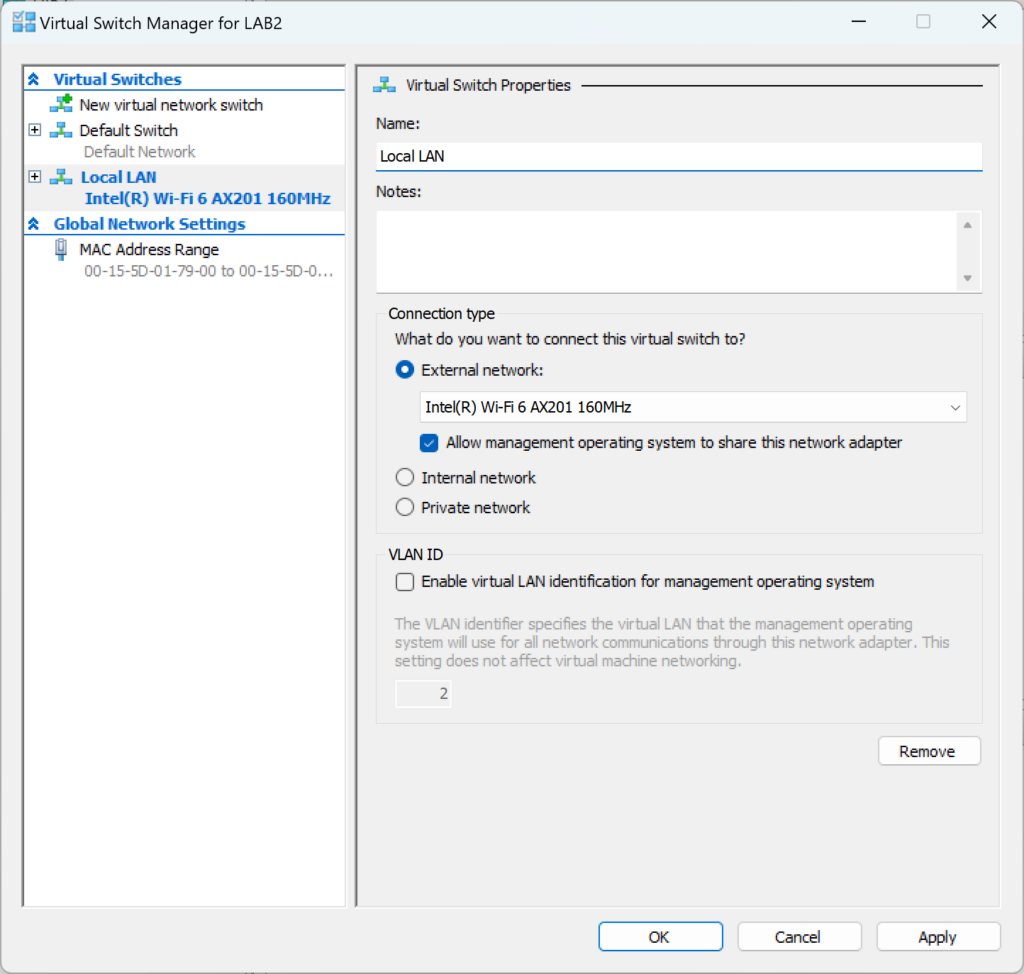
Choose “New virtual network switch” and then “External” to the right
Choose the network card you want to connect the new network to in the drop down menu under “External network”. Press OK.
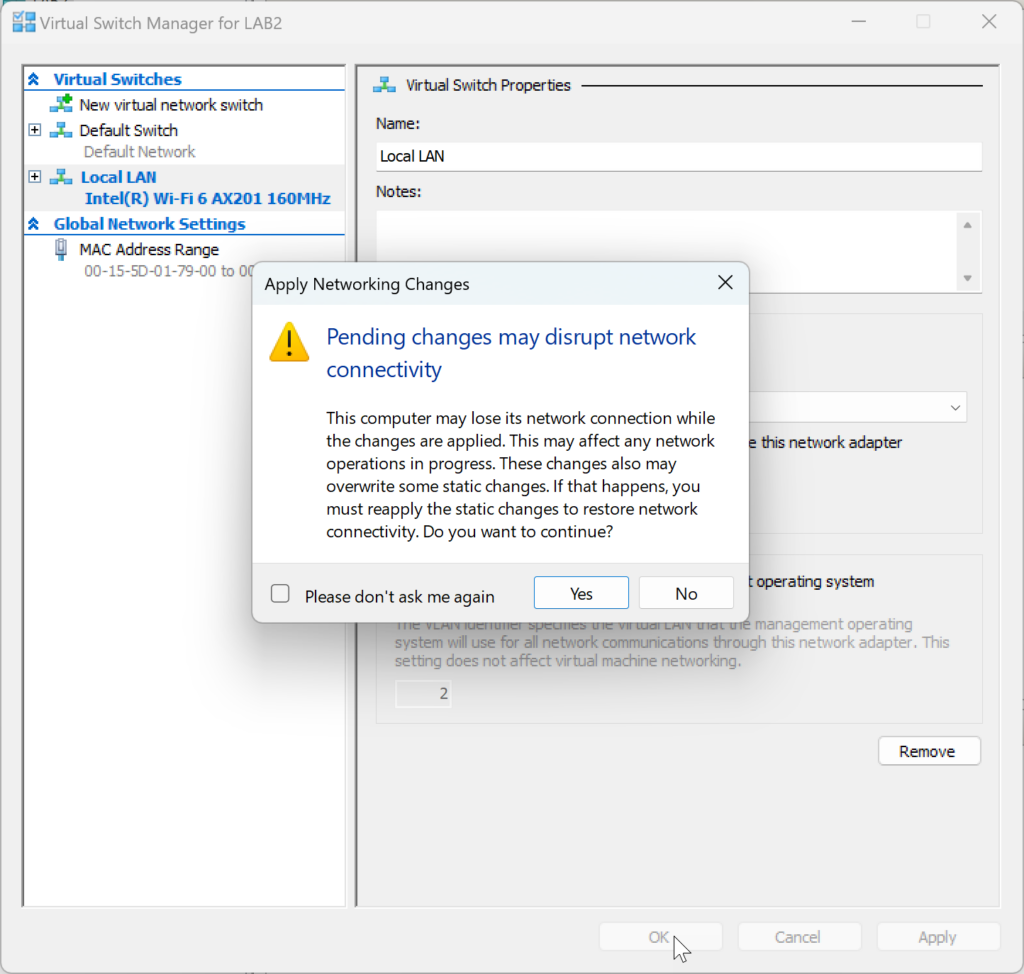
You now need to let Windows enable the new network interface card. This may interrupt your other network connection. If this is ok, press the Yes button
You now have another virtual switch in Hyper-V. You are now ready to create a virtual computer.
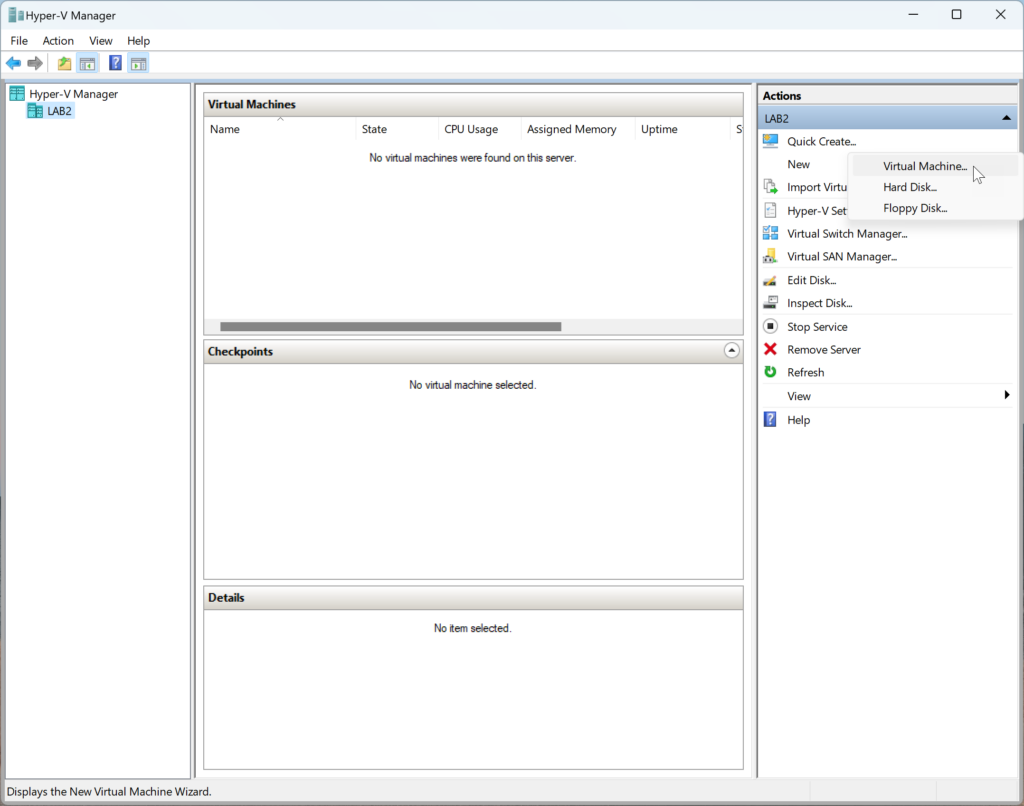
In the menu to the right, choose “New” and then “Virtual Machine…”
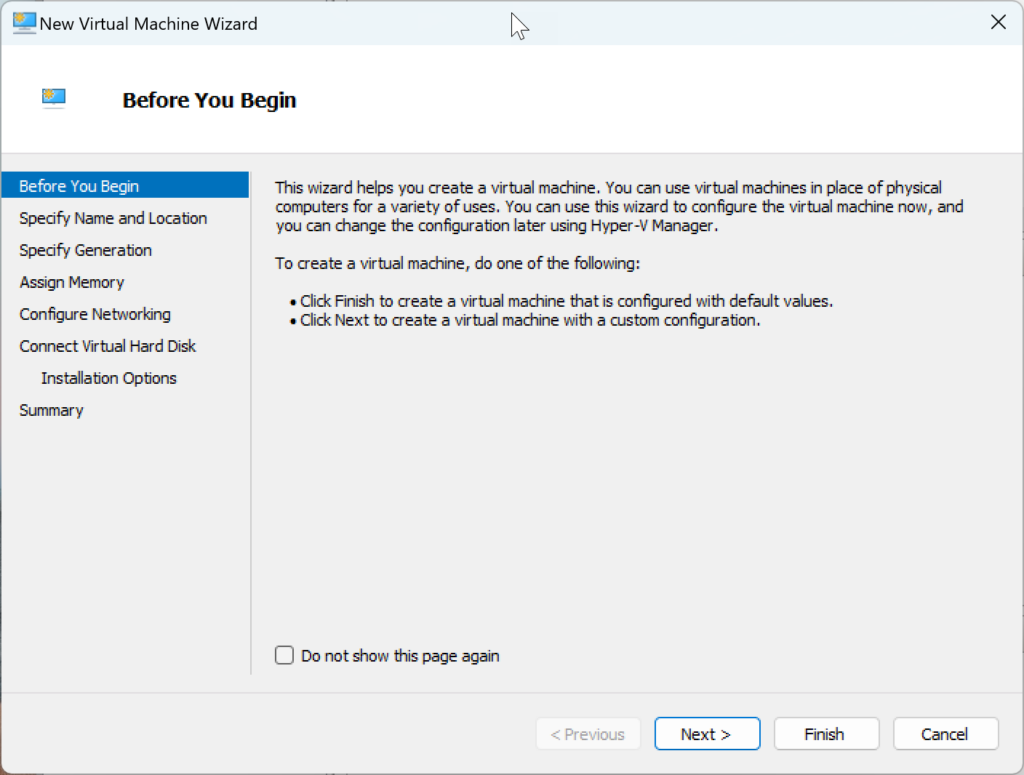
The Hyper-V Manager now starts a wizard that will guide you through creating the virtual machine. Press “Next >”
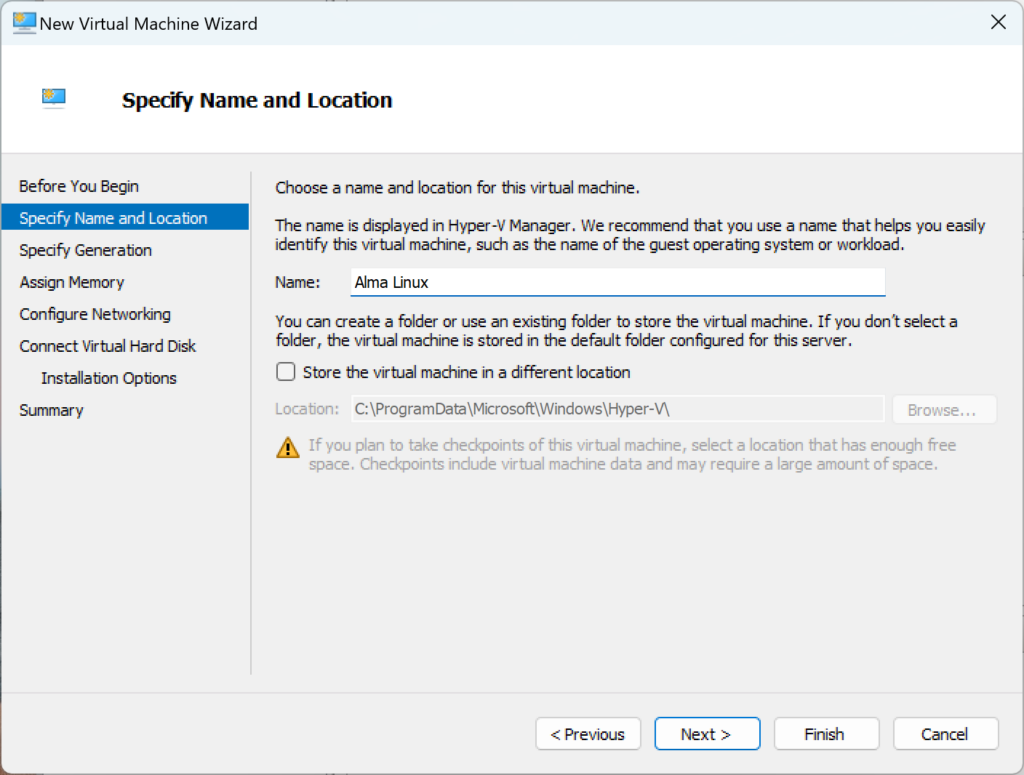
Name your computer and choose a place for it to be stored. If you don’t choose where to store it, the default location will work in most cases unless you have a secondary disk drive where you want to keep it. Press the “Next >” button.
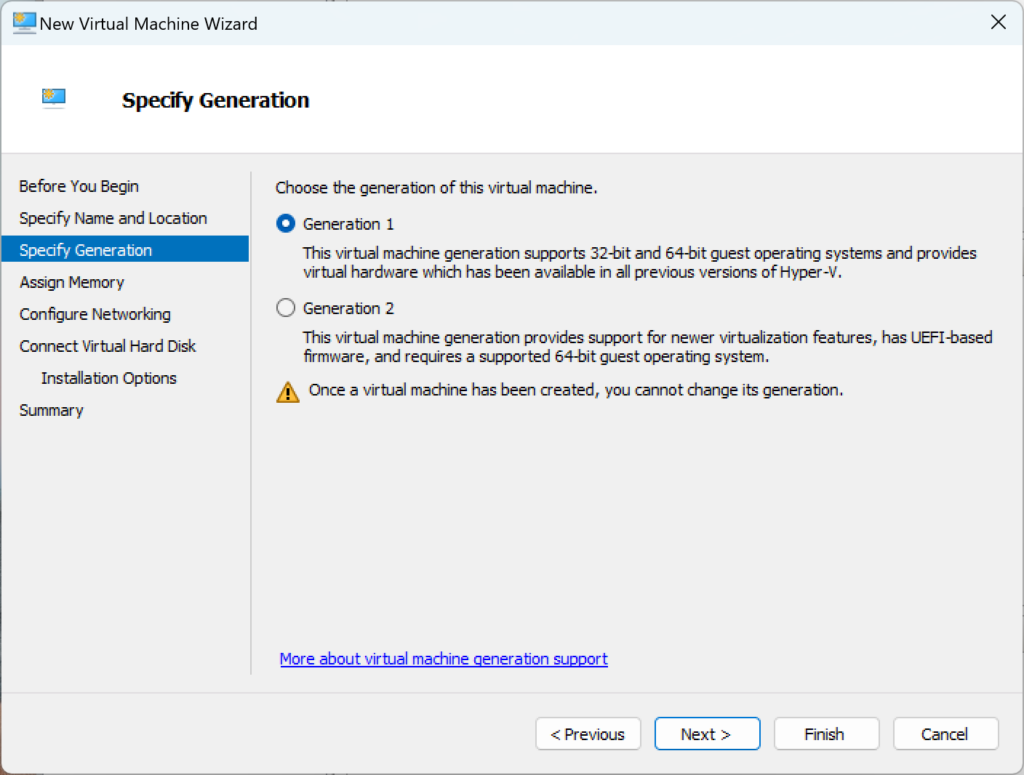
Next you need to choose what kind of virtual machine you want to create. “Generation 1” is a safe choice for most installations. When you have made your choice, press “Next >”
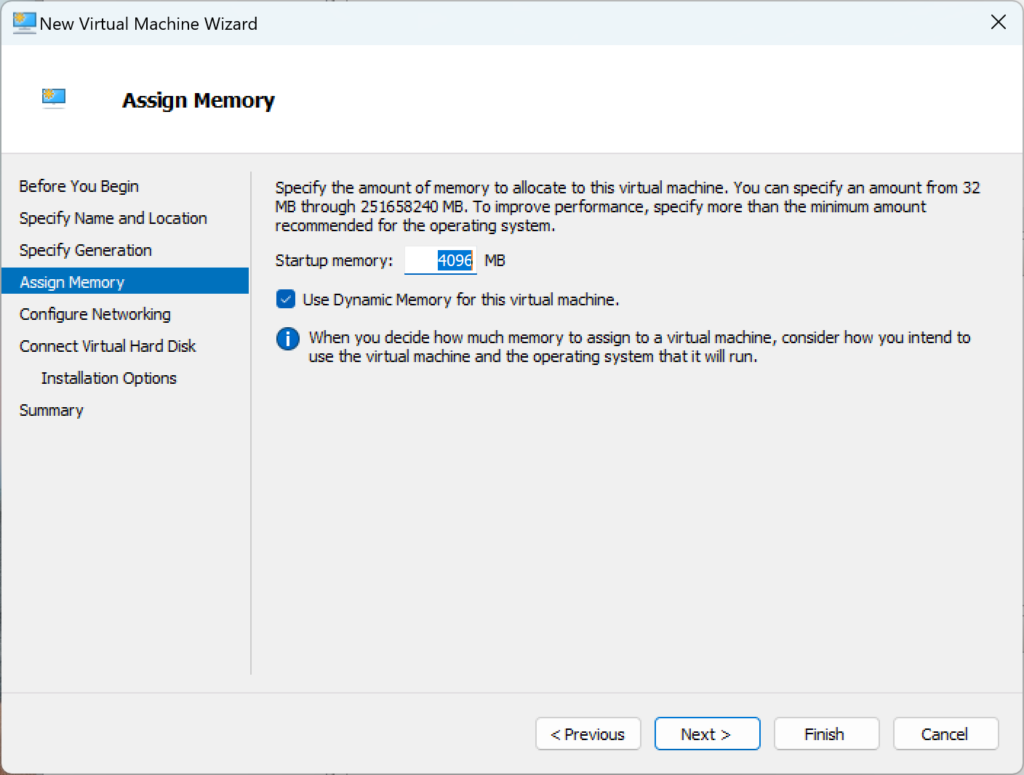
Next you need to choose how much memory your virtual machine will reserve when it is started. If you choose 4096MB (4GB) as in the image below, those 4GB will be unusable by your normal system when the virtual machine is running. When you have entered an amount of memory, press “Next >”
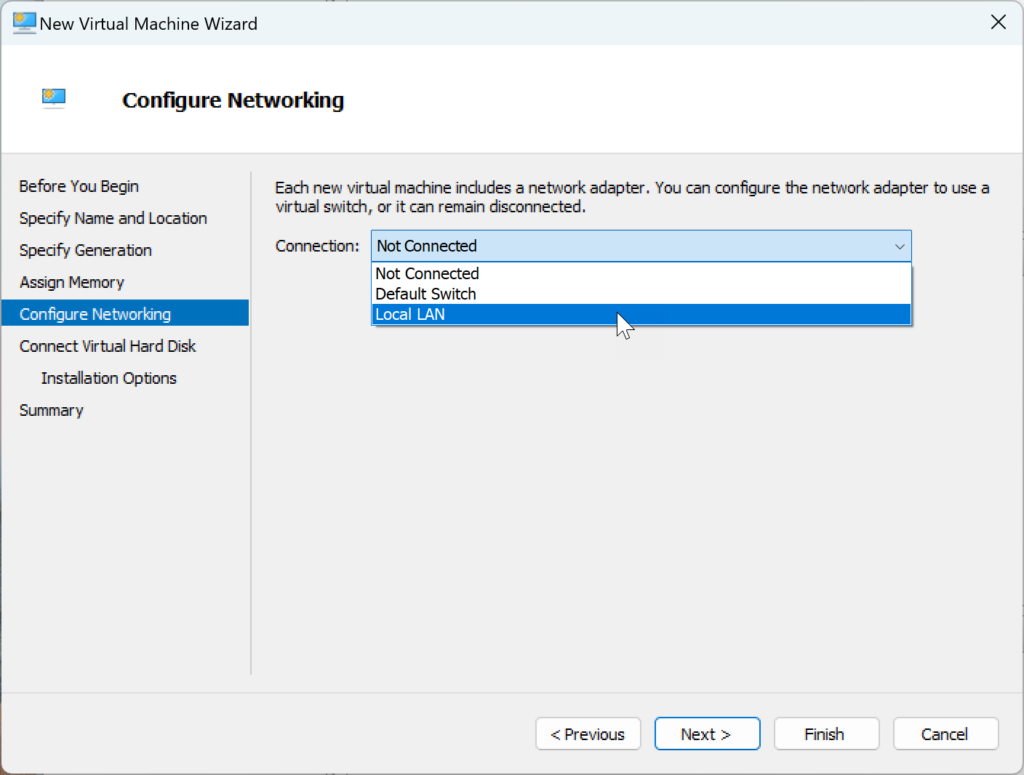
Next you will choose the network interface card (NIC) for your machine. We have the option of the default switch that was created by the system. This is fine if you only need to reach the computer from your own Windows installation. If you need other computers on the network to be able to communicate with the virtual computer, choose the virtual switch you created in the beginning of this guide. Press “Next >”
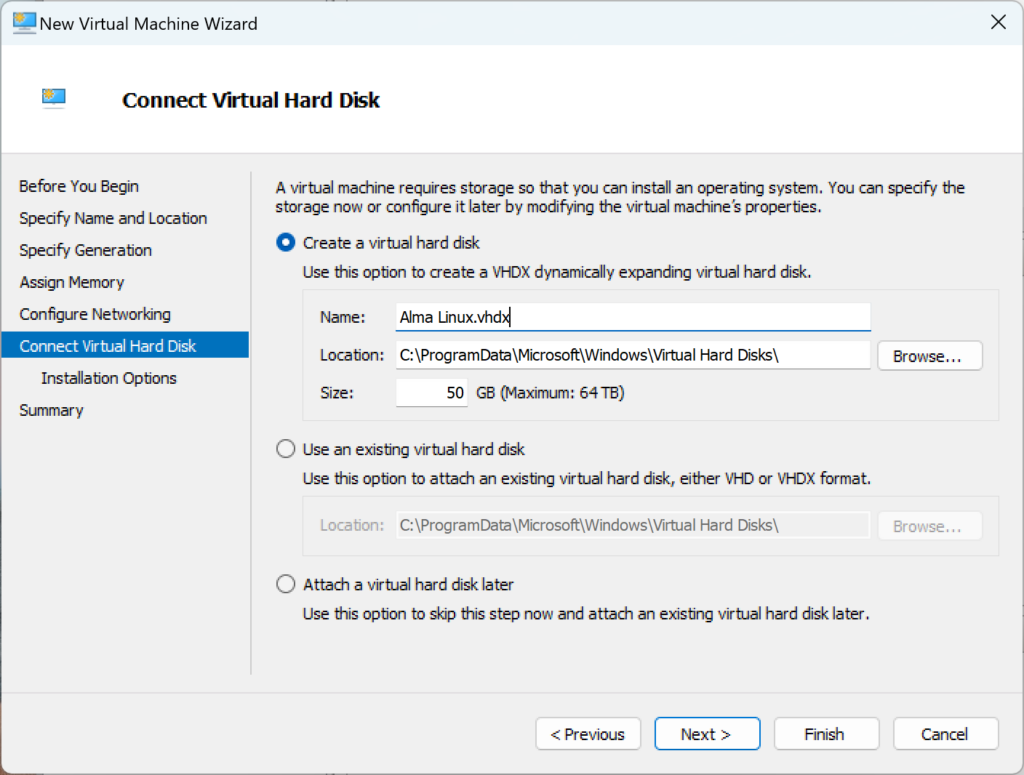
Now you will choose where to store your virtual hard disk and how large it should be. When done, press “Next >”
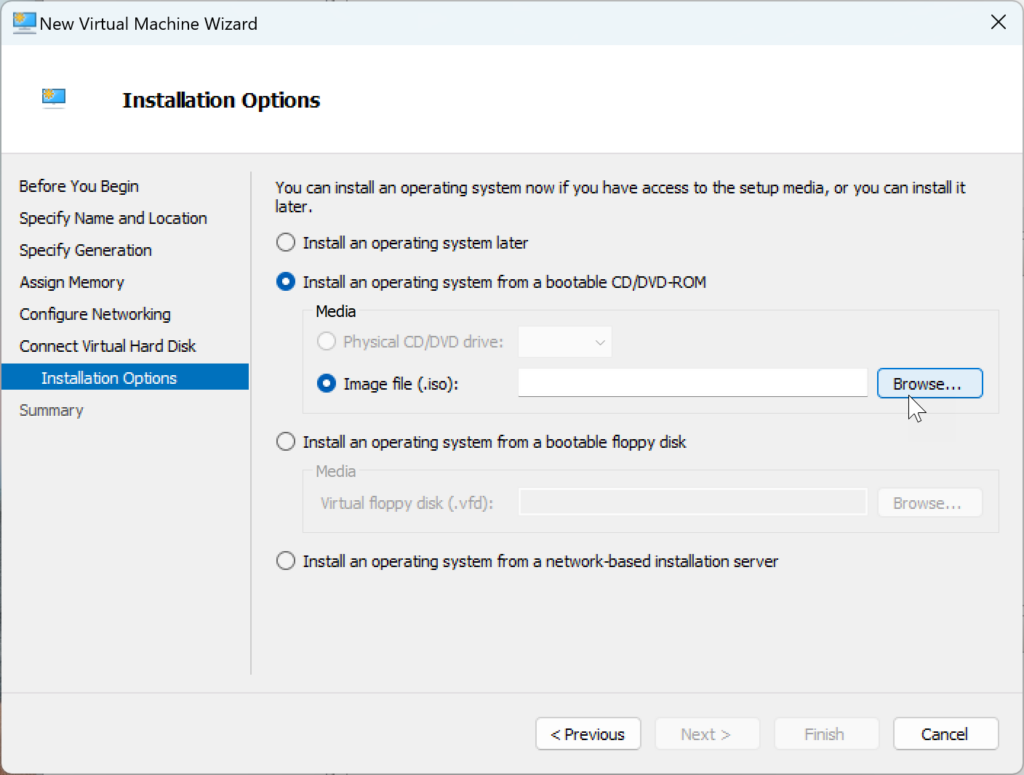
To install an operating system, you need an installation medium, for example an iso file containing an installation image. Press “Browse…” to choose a file
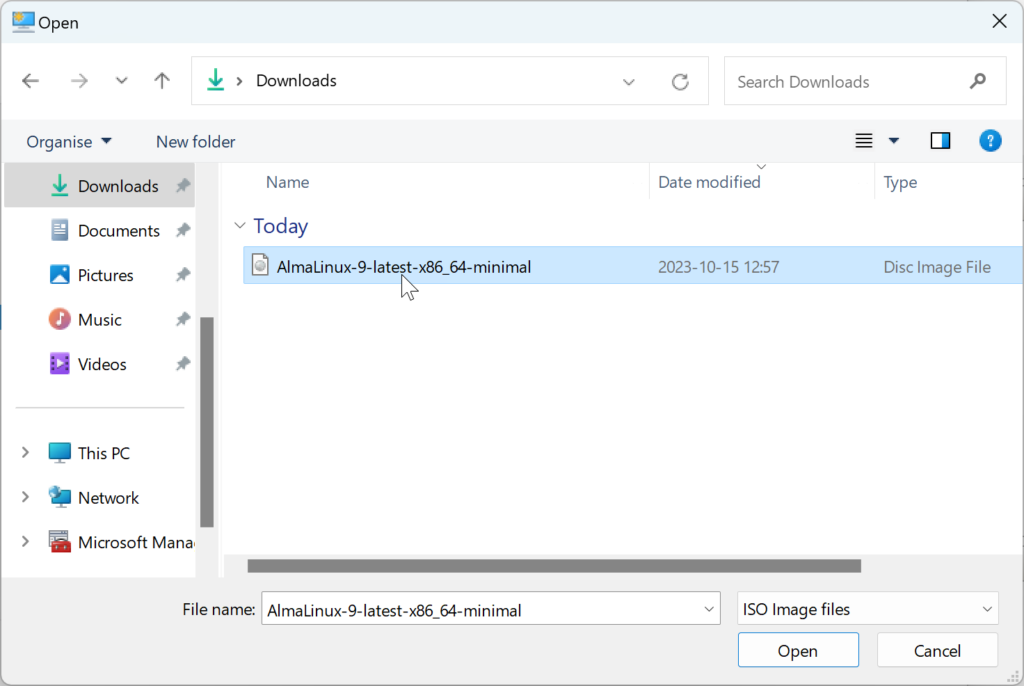
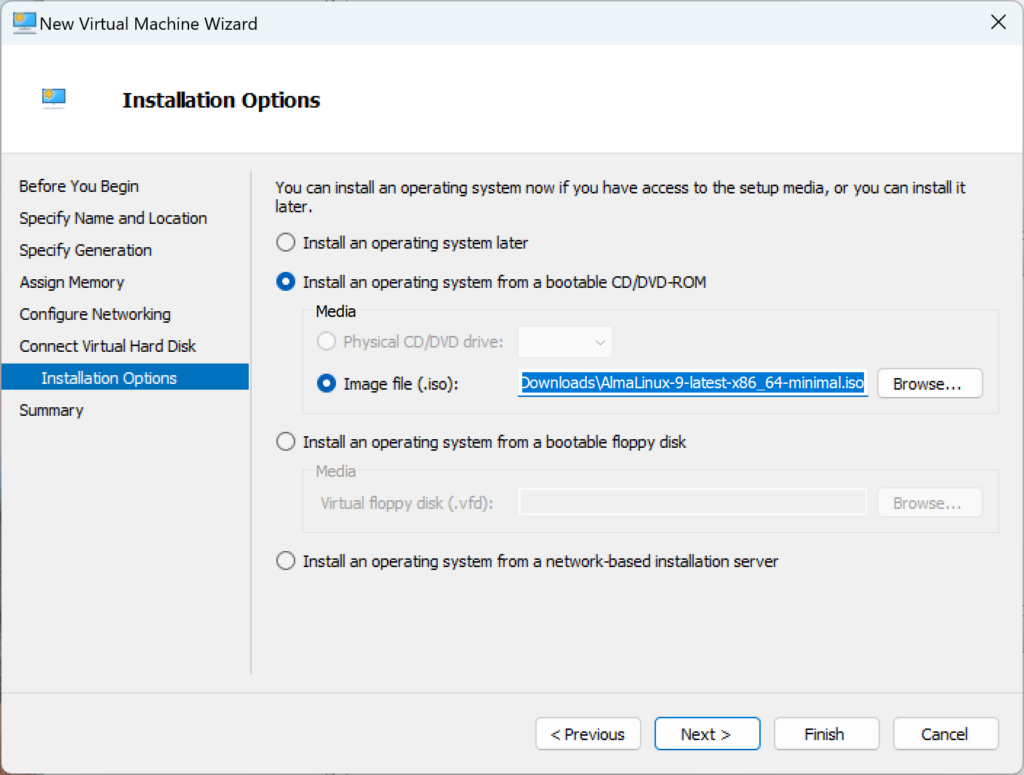
In this example I choose an image for Alma Linux. Find you iso file and press Open
When done, press “Next >”
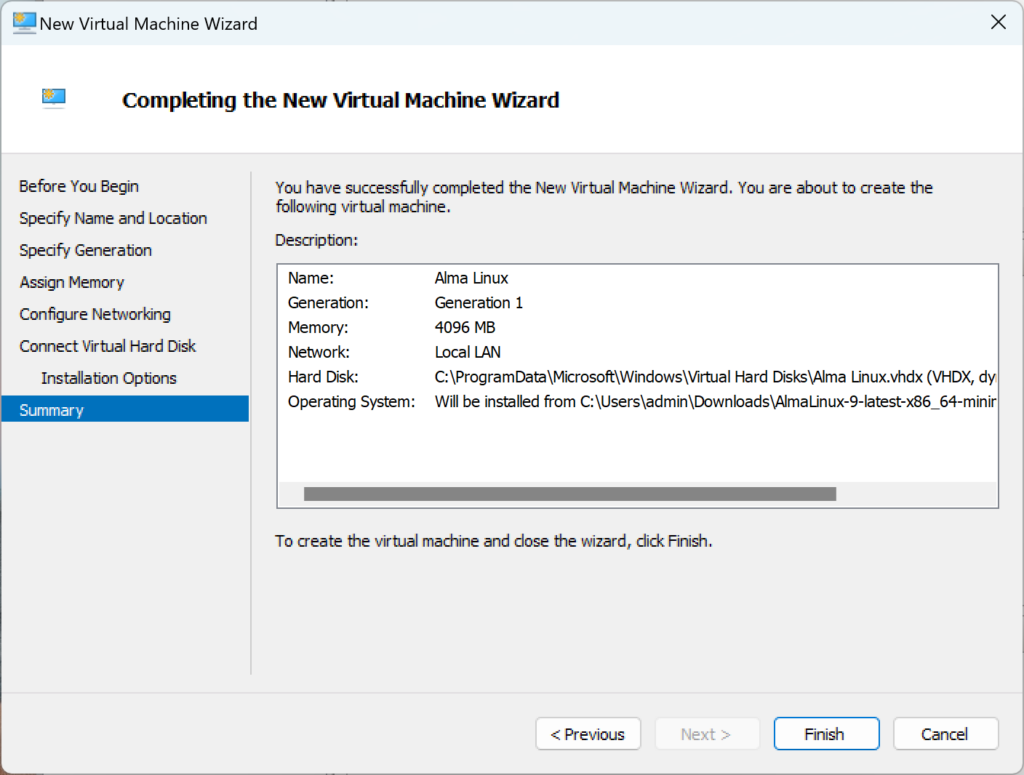
You now get a summary of your choices, press “Finish”
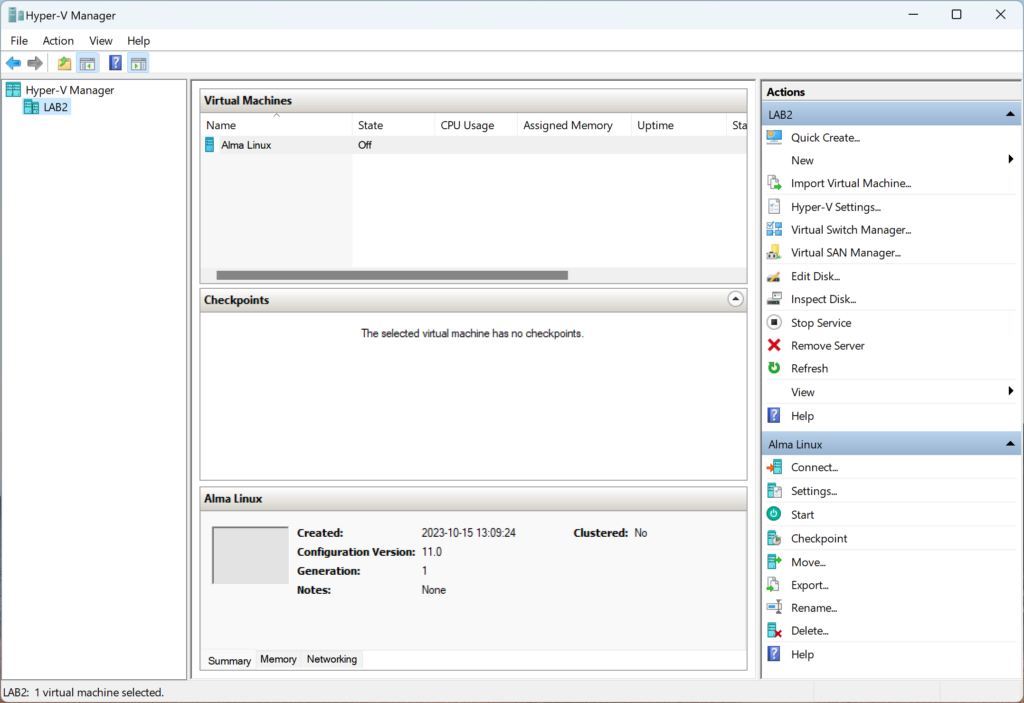
Your computer should now be visible in the list of virtual machines, but it has not yet been started.
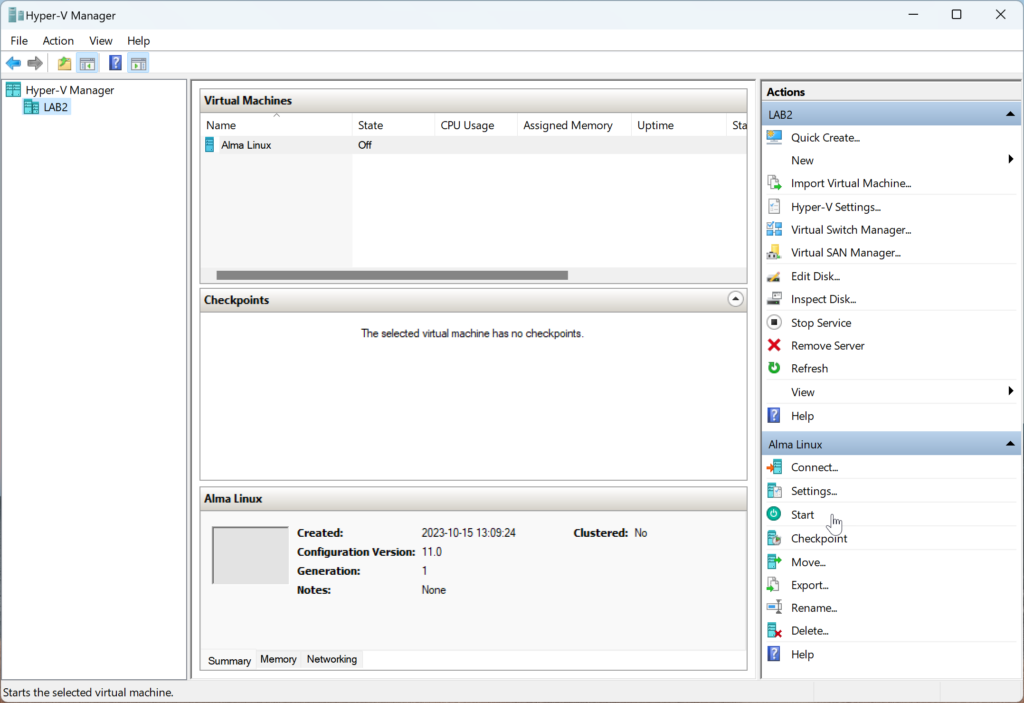
To start the computer, first highlight it in the list and click “Start” in the lower right menu
To actually see what is going on on your new virtual computer, you can press the “Connect” button in the lower right menu
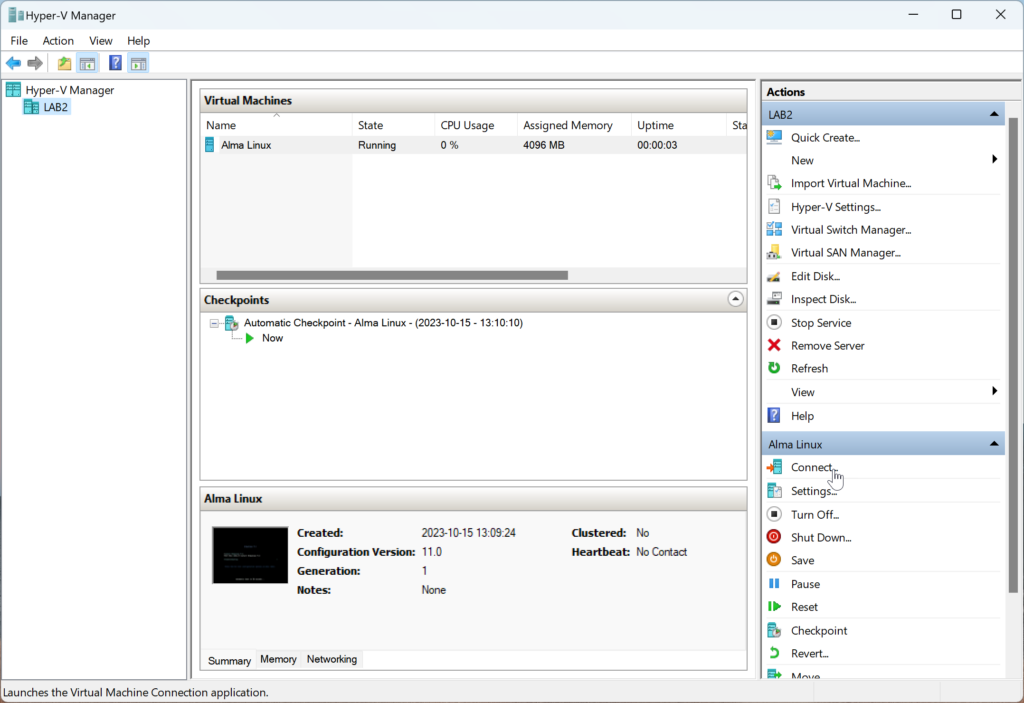
You are now done and you can continue with the installation of your chosen operating system.