XiO Cloud is Crestron’s system to update, support and manage hardware from both Crestron and other vendors.
There are four different ways to add products to XiO Cloud, these are
1) Crestron native products that has built in support for XiO Cloud
2) Third party hardware that has built in support for XiO Cloud in some way
3) Through an XiO Cloud Gateway
4) Through programming in a Crestron processor
This guide will prepare your environment for option three.
Prerequisites for XiO Cloud Gateway
To be able to install an XiO Cloud Gateway, you first need a server to run it on. The server should be either a Red Hat server version 8.x (in the future, version 9.x will probably be supported, but not yet). It could also be one of the alternatives to Red Hat like Alma Linux, Rocky Linux or Oracle Linux, all supported on version 8.x.
If you don’t know how to install Red Hat or for example Alma Linux, I have written a guide for it here: Installing Alma Linux 8.6
To be able to install Crestron Xio Cloud Gateway, you first need to get the installation file from Crestron. The download page is here: Crestron XiO Cloud™ Gateway Software [Crestron Electronics, Inc.]. You need a login to a Crestron account with the permission to download files.
Installing XiO Cloud Gateway
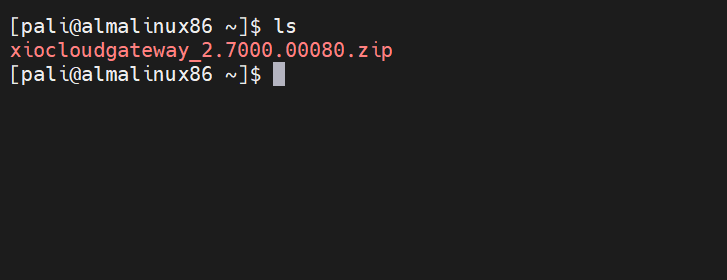
Make sure you have uploaded the installation to a directory on the server. You can verify this by running the “ls” command to see the file name you have uploaded
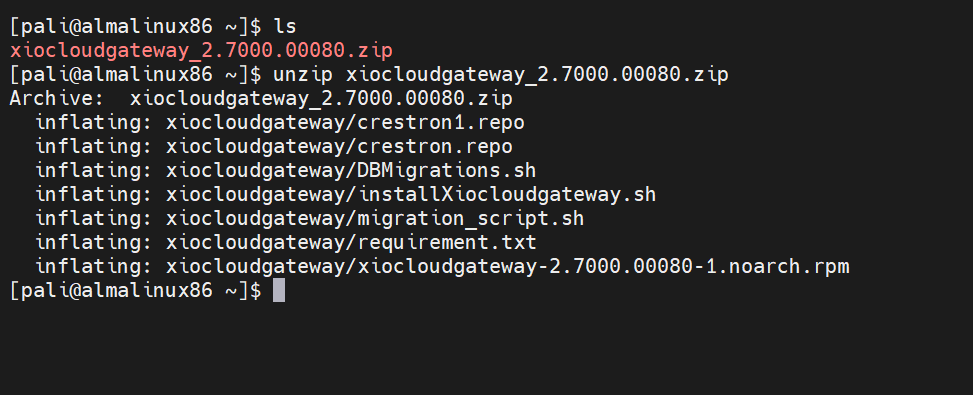
To unzip the file, use the command “unzip <filename>.zip”
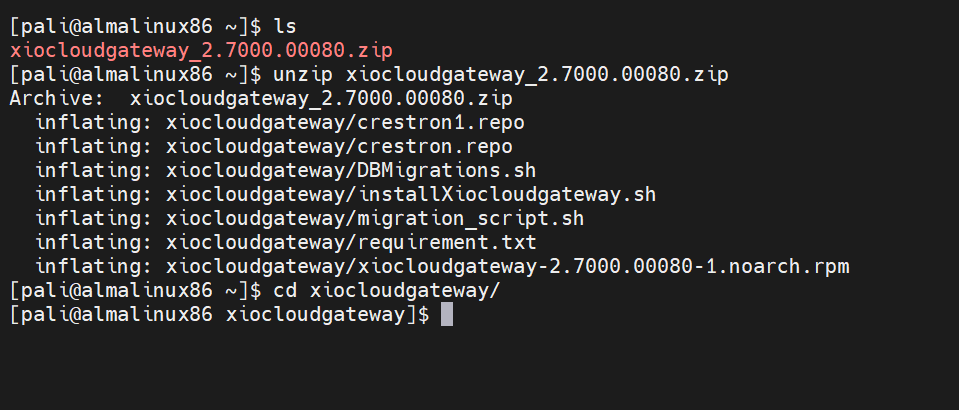
Go into the directory on the server by entering “cd xiocloudgateway”
Now, install the program. Enter the command “sudo ./installXiocloudgateway.sh”
The sudo part is to run this installation as an administrator. You will need to enter your account password to confirm you are allowed to run the command.
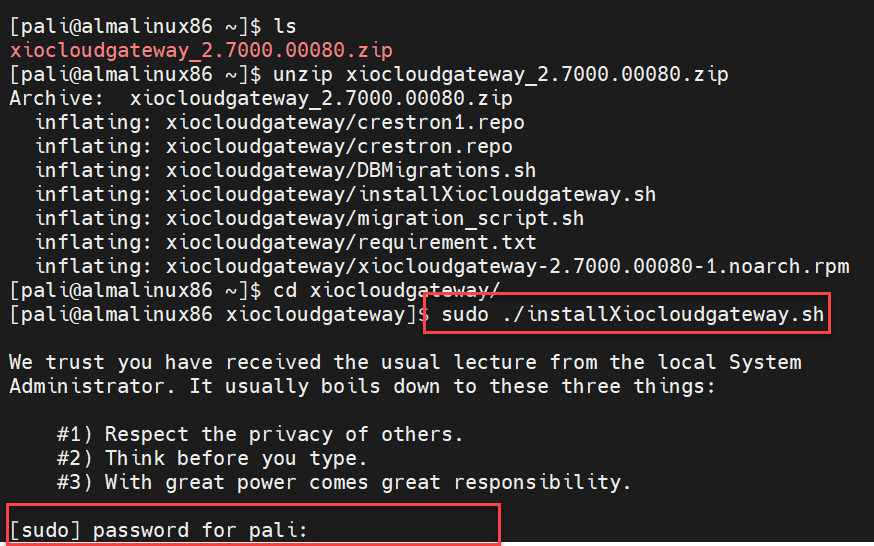
The installation will start
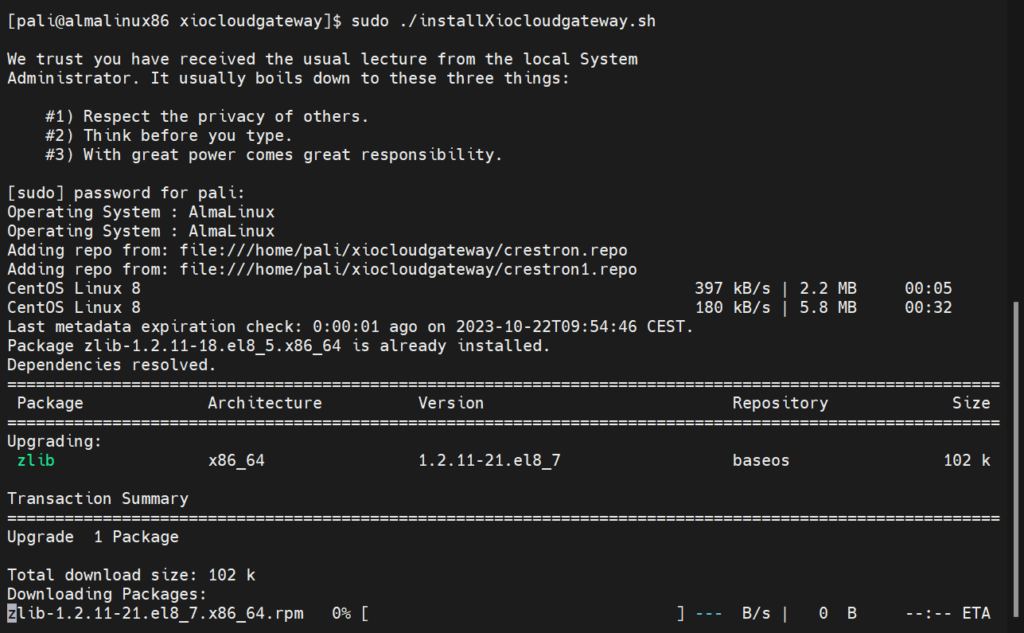
After a while, when the prerequisites have been installed, you will be asked to specify an installation location. If you just press enter, you will have the standard location wich will work excellent. The location will then be /opt/crestron/
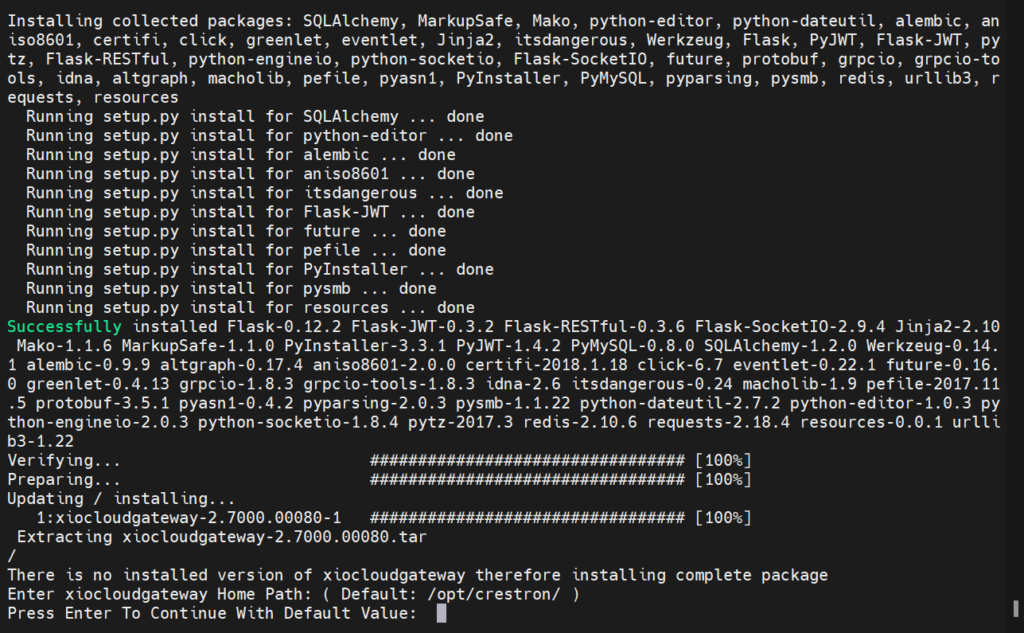
You will be asked to specify a port for Redis. The default port is 6980. I recommend you keep that.
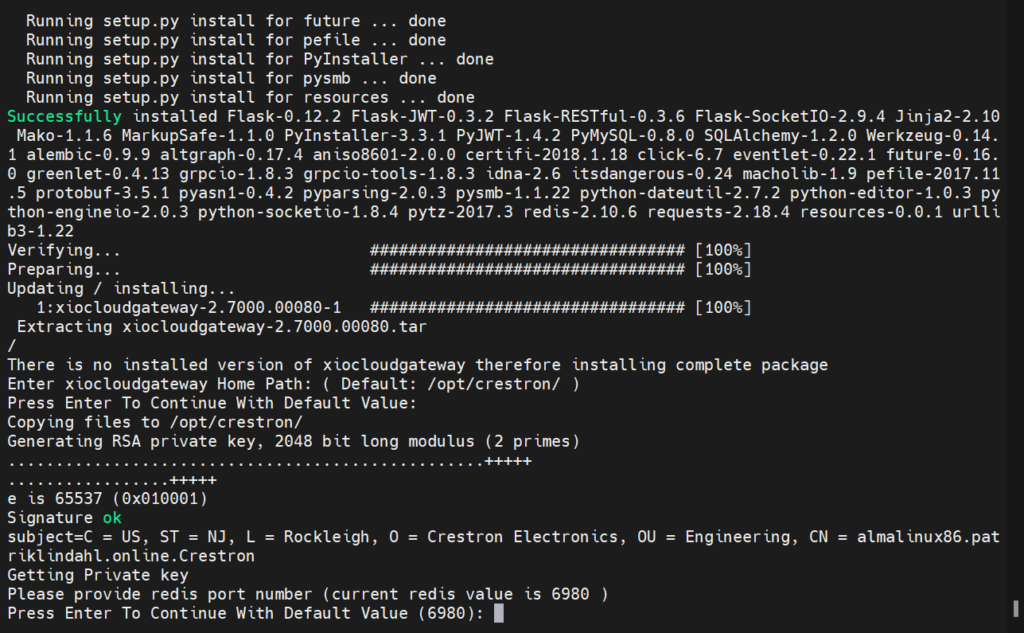
The system requires a database and for that you need an account to login to the database, virtualcontrol is the standard username. If you are fine with that, press enter.
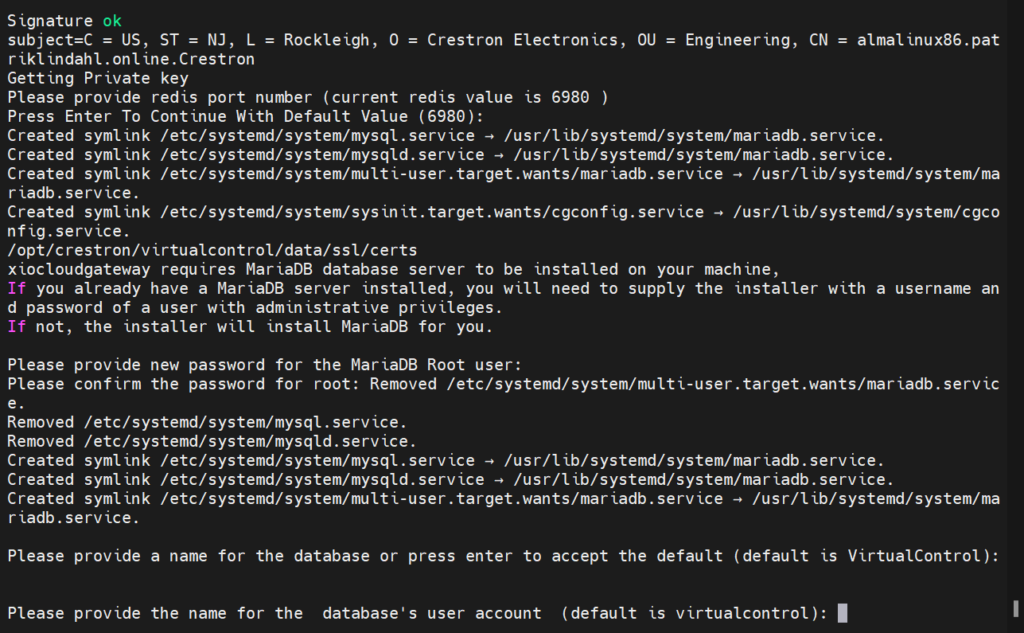
And a password… If you press enter, a random password will be generated. You will not need to document it since it’s only for the system to access the database. If you want your own password, you can create one using standard MariaDB procedures (Google it)
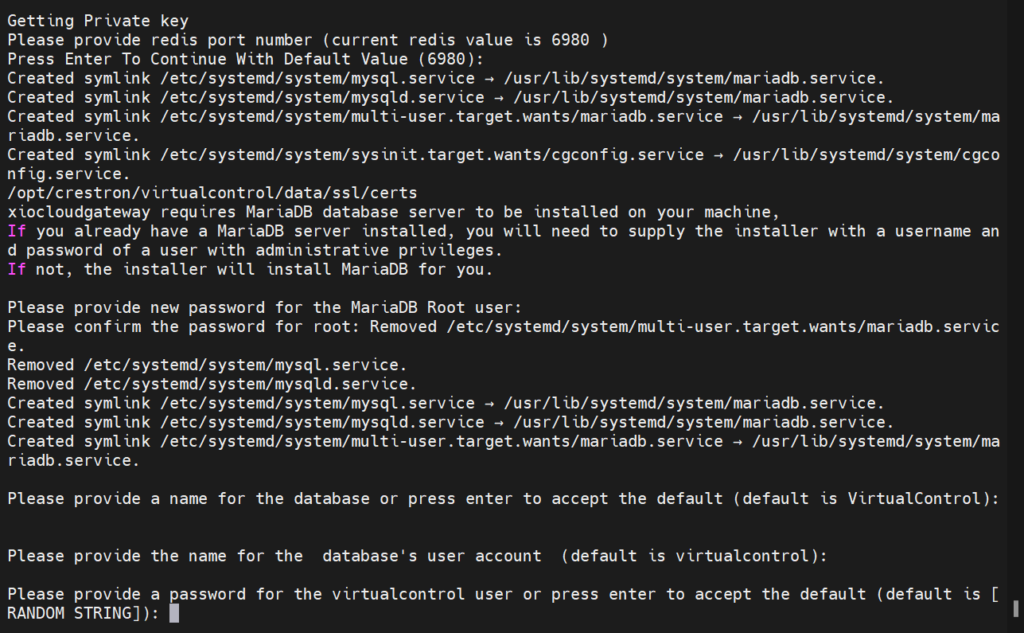
The installation starts
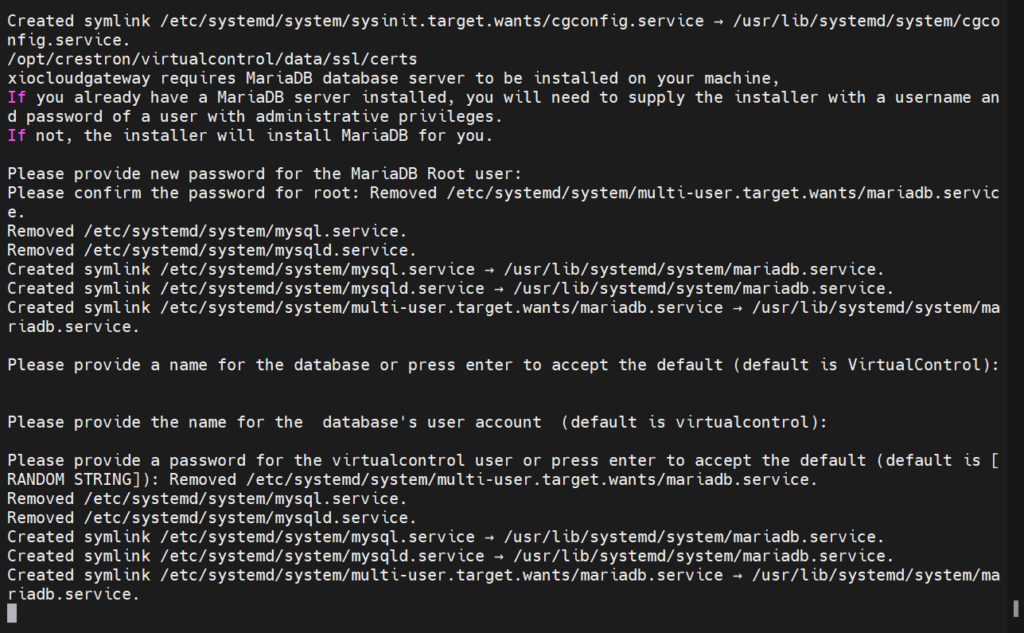
When the program has been installed, the default prompt will re-appear
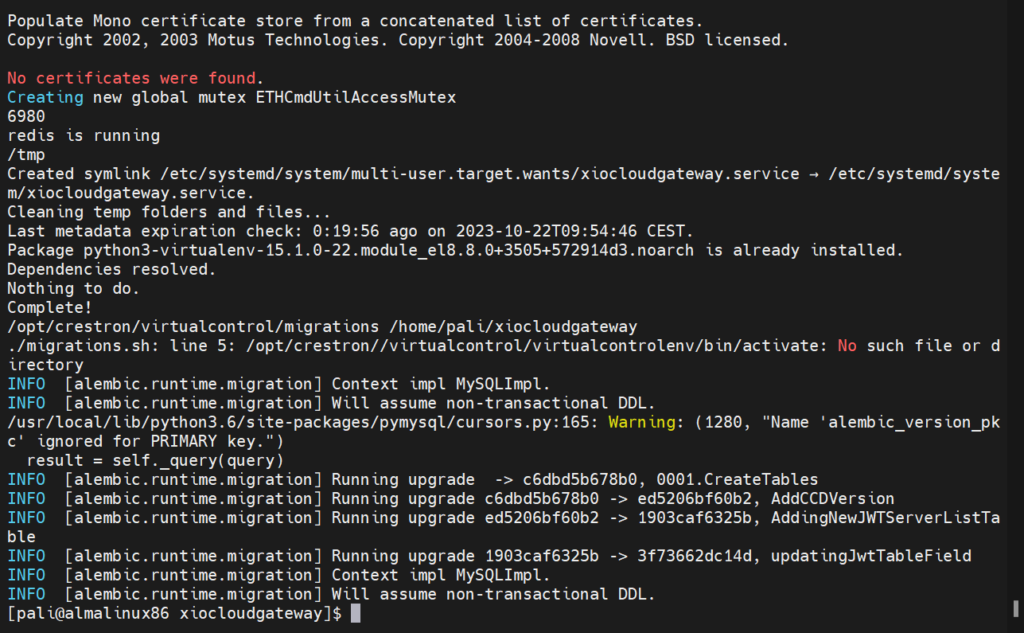
Before closing your SSH session, check the IP address of the server, you will need it in a couple of steps.
The command is “ip address” and the address will be listed in the result of the command.

Next, go to http://portal.crestron.io to log in to your XiO Cloud account
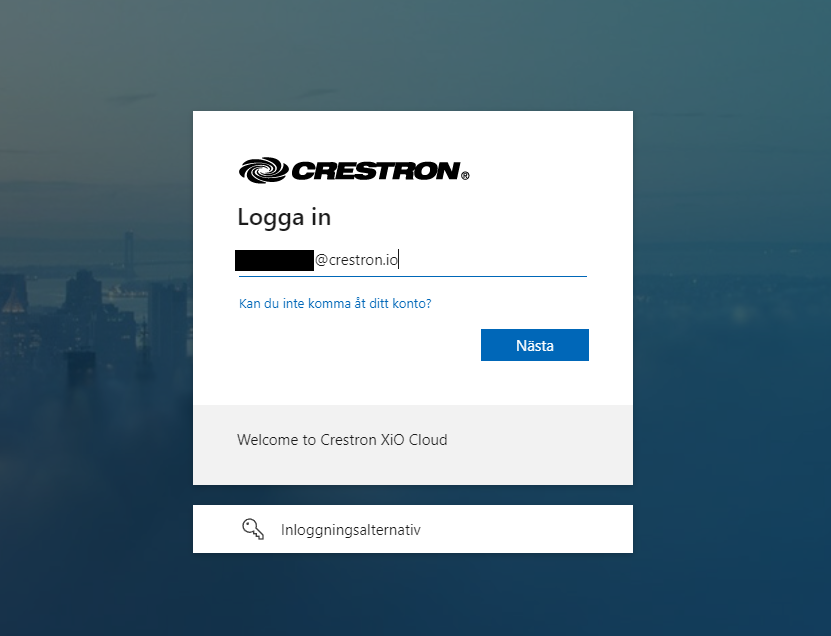
And of course, the password…
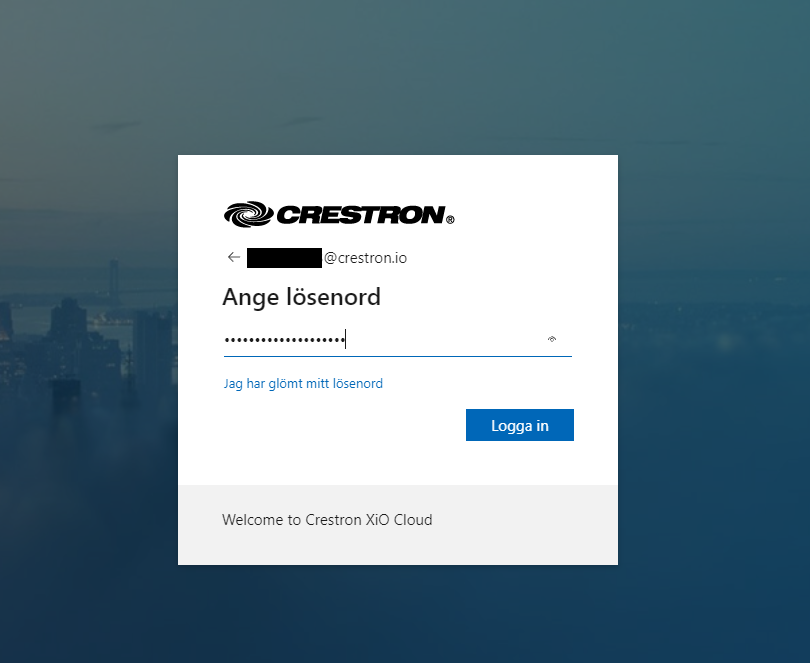
You will be logged in to the system
You will be logged in to the system and the first page is the dashboard

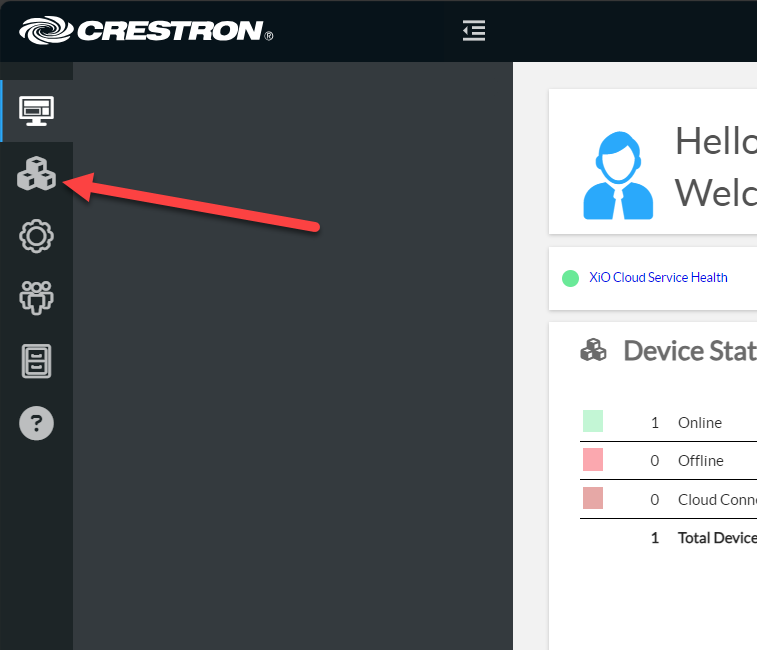
To start adding nodes and rooms, press the icon with the boxes to the left.
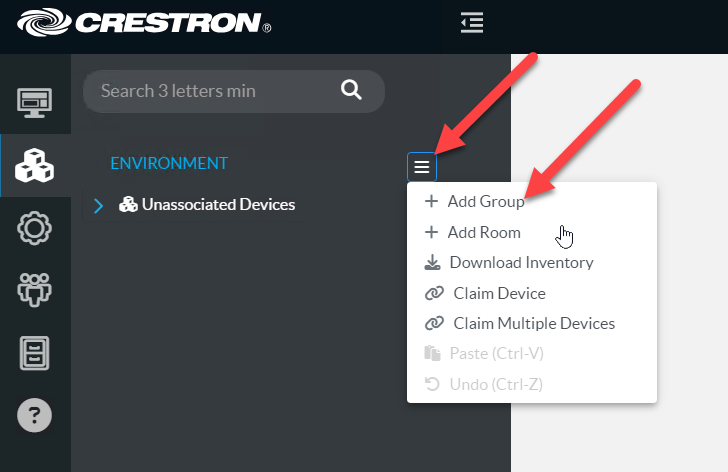
First, lets add a group that can contain our test room. You can create several levels of groups if you want.
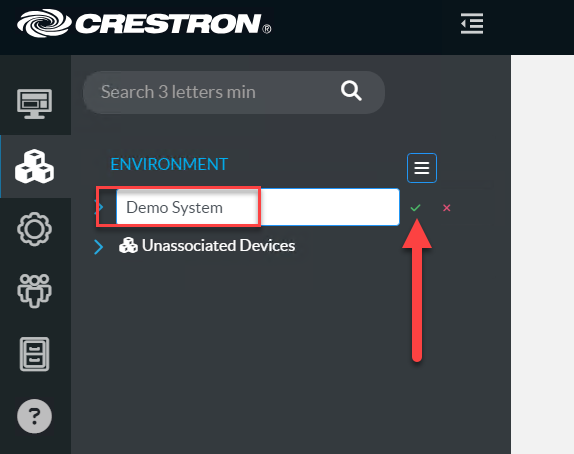
Press the small “hamburger icon” and then “Add group”
Enter a group name and then click the green check mark
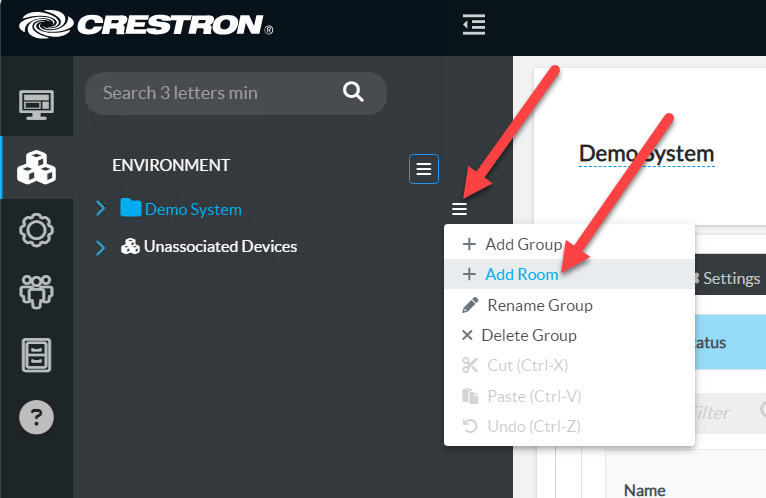
Next, press the small “hamburger icon” beside the newly created group and choose “Add Room”
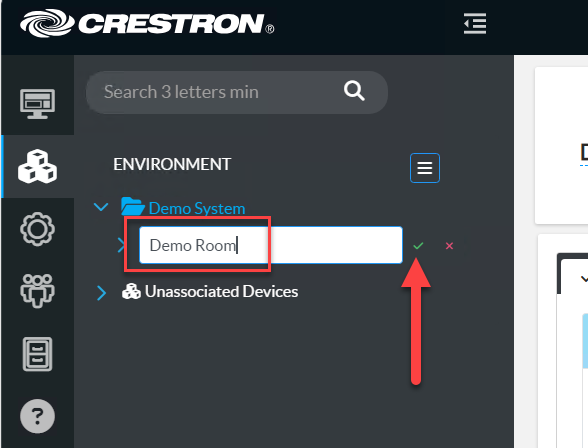
Enter a room name and press the green check mark
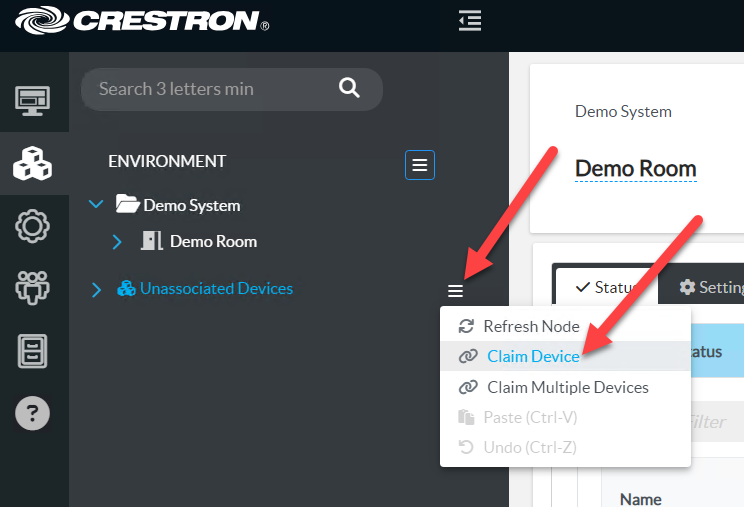
Now, it’s time to claim you first device in the form of the Crestron XiO Cloud Gateway. Press the “hamburger icon” beside the “Unassociated Devices” and then “Claim Device”
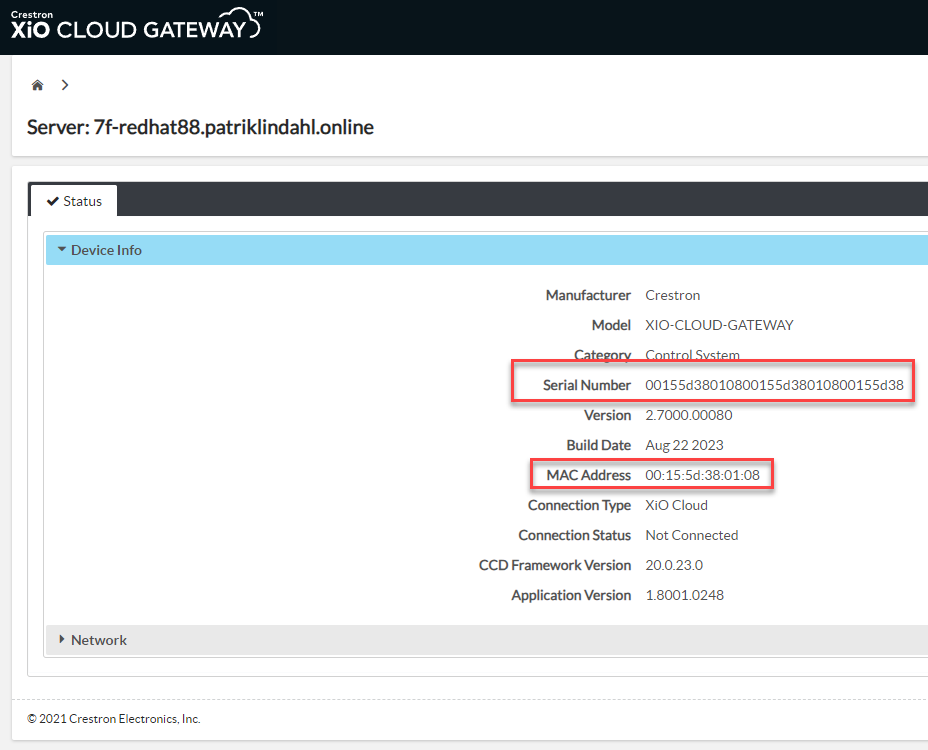
You now need some information from the XiO Cloud Gateway. Go to the web page for the IP address of the server that you checked in the last step of the installation. Go to http://<ip-address>/VirtualControl/config/settings/ in your web browser.
There will be a serial number and a mac address, you need to copy these down and paste them in the form in the next step.
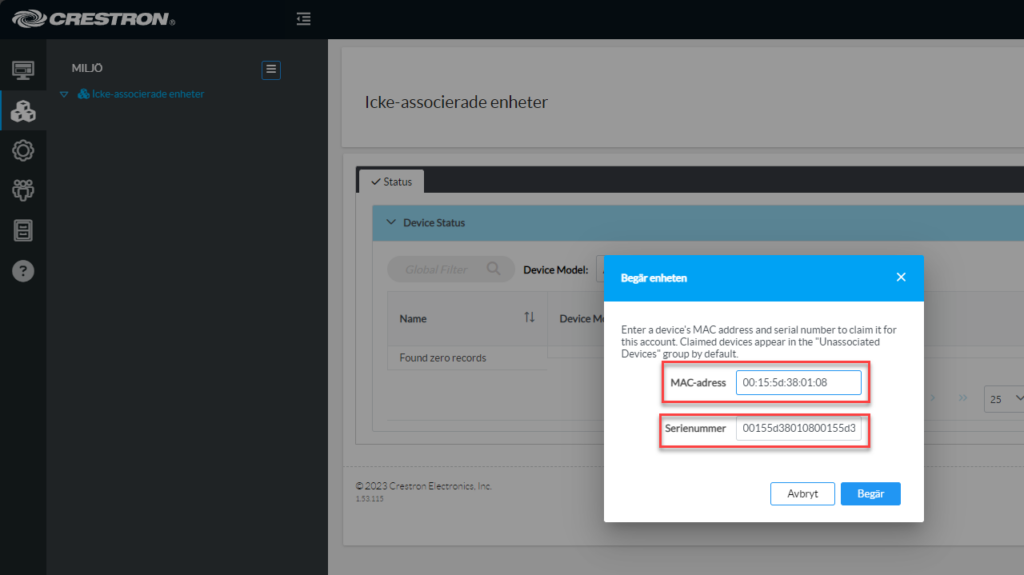
Enter the serial number and mac address in the form
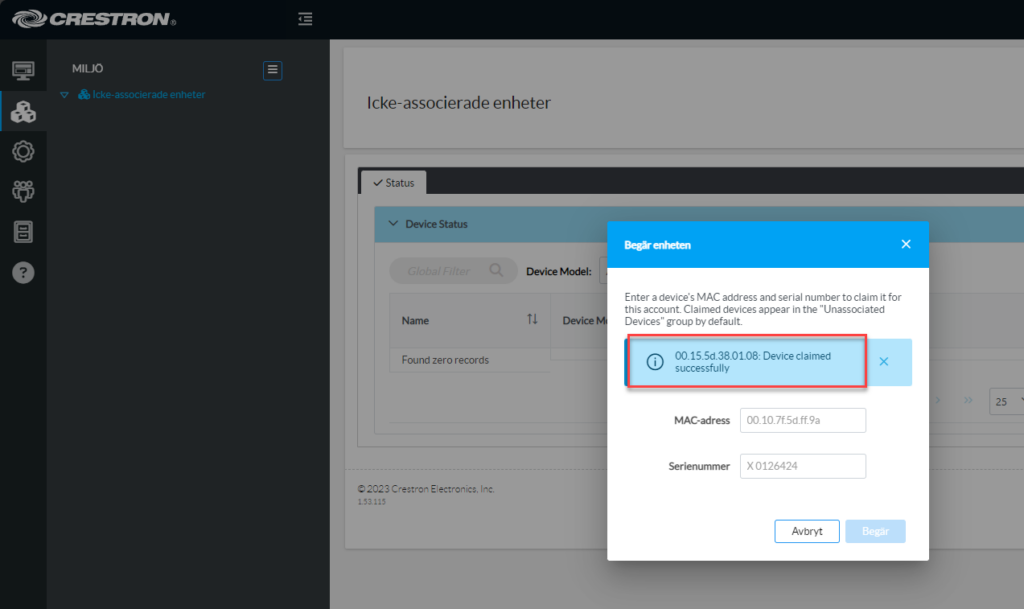
If the information was correct and the device was not claimed before in another (or this) XiO Cloud account, you should get a message telling you the “Device claimed successfully”
Drag and drop the newly added device from un-associated devices to the room you created.
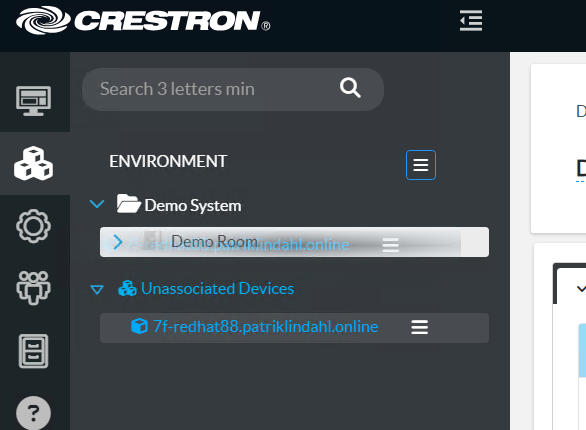
The Crestron XiO Cloud Gateway should now be added to the system in the room you created before.
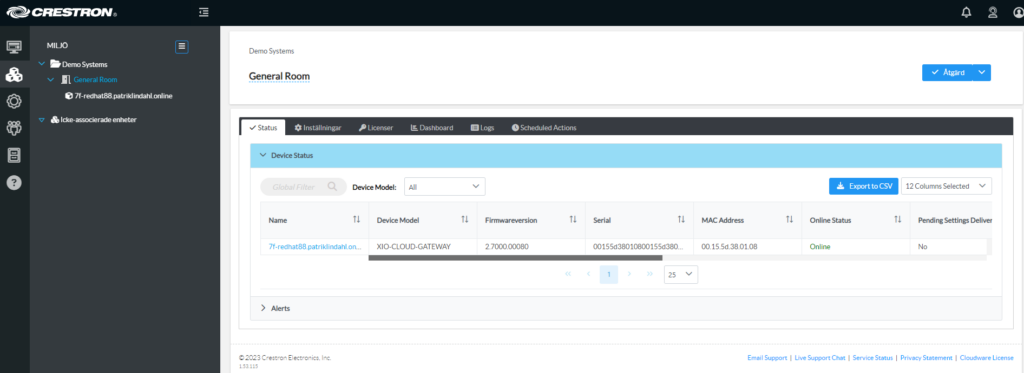
If you click the device, you should see the information about the device. If it still says Offline in red, give it some time to check in for the first time.
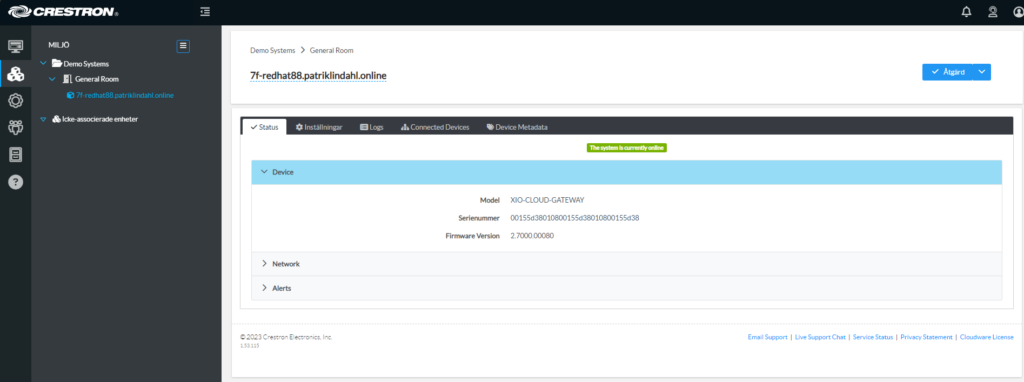
To add you first device that should be monitored somehow by this Gateway computer, press the “Connected Devices” tab and then “Add Connected Device”
