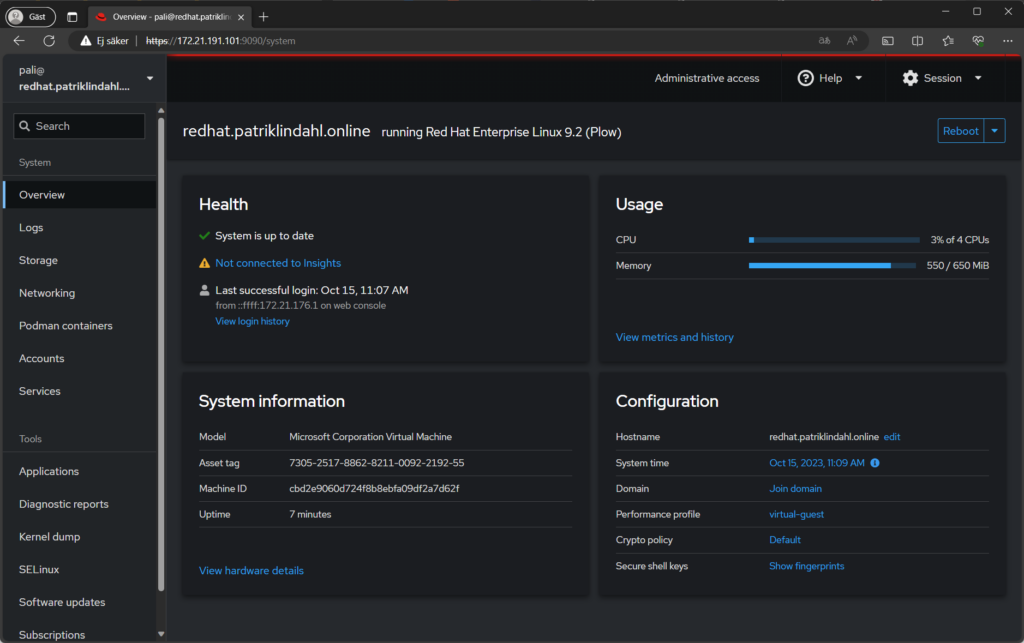
In this guide, I will walk you through the installation of Red Hat 9. There are of course many other guides out there explaining the same things, but I wanted to create my own that can be referenced in other guides I will be writing.
This procedure can be used on a stand alone computer or on a virtual machine on a server or your computer. If you want a guide to installing the hypervisor Hyper-V on Windows 11, I have written a guide for this. You can find it here.
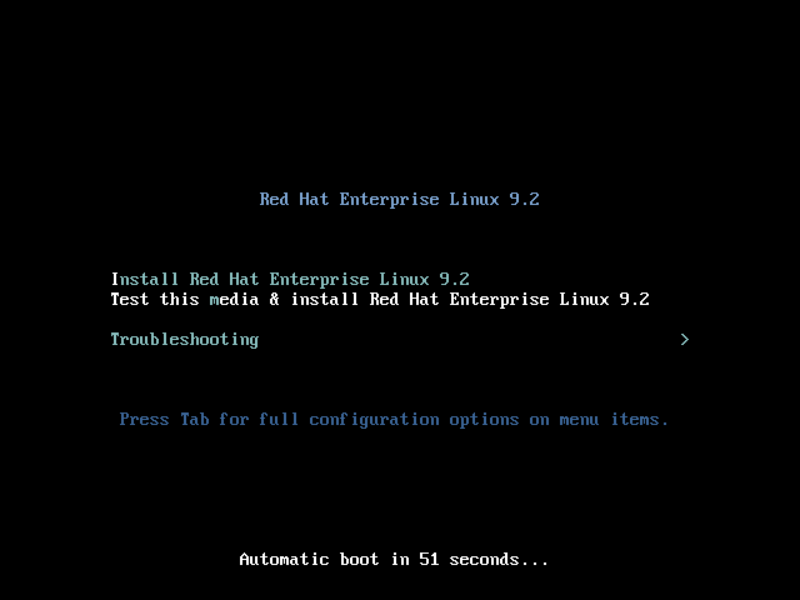
When starting your installation, you will first be presented with a choice to either install Red Hat immediately or first run a test of the installation medium. I recommend that you use the second option, to test the media first. Use the arrow keys on your keyboard and choose one of the two options. Press enter to choose. If you don’t make a choice witin 60 seconds, the default option will be chosen.
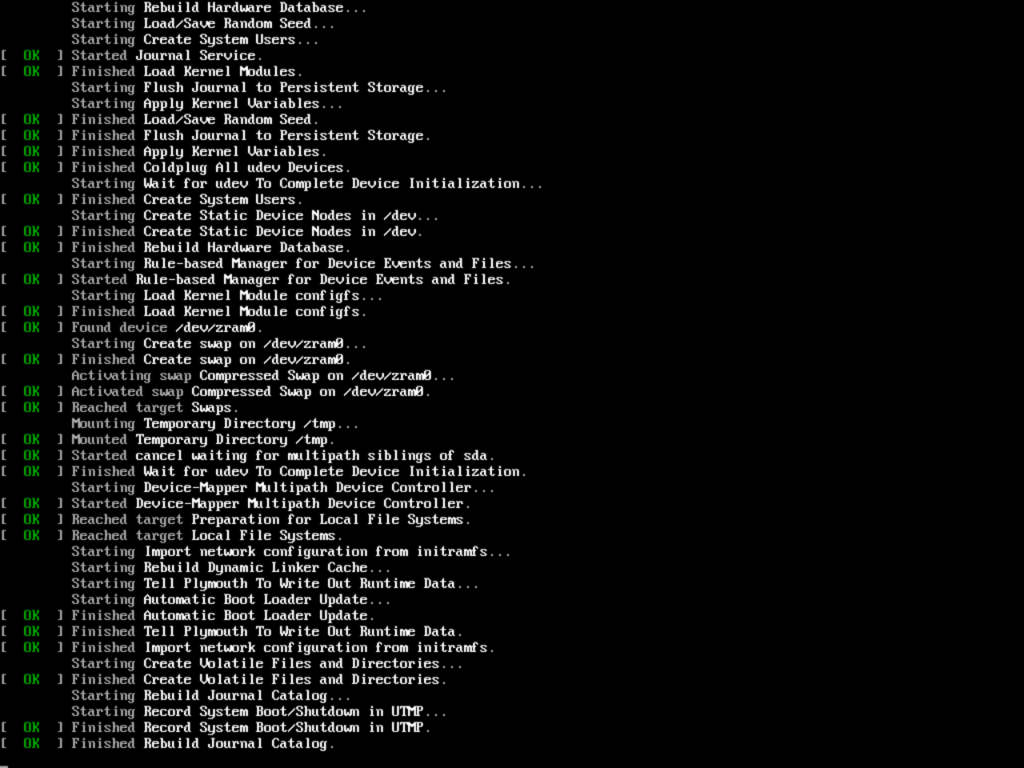
The installation will start and load the installation
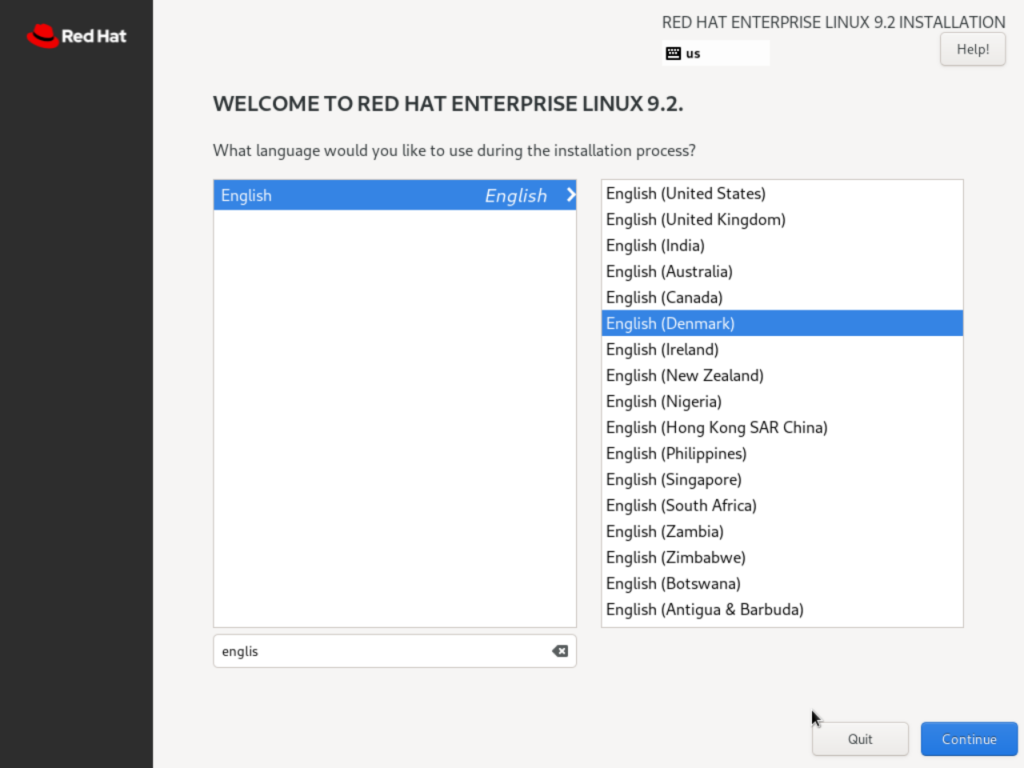
The first thing to do is to choose a language and a localization. You can filter the possible languages below the first list of languages and choose a suitable language. Press Continue when you have made your choice.
The next screen is a menu of things to go through to continue with the actual installation. Lets go through them one by one.
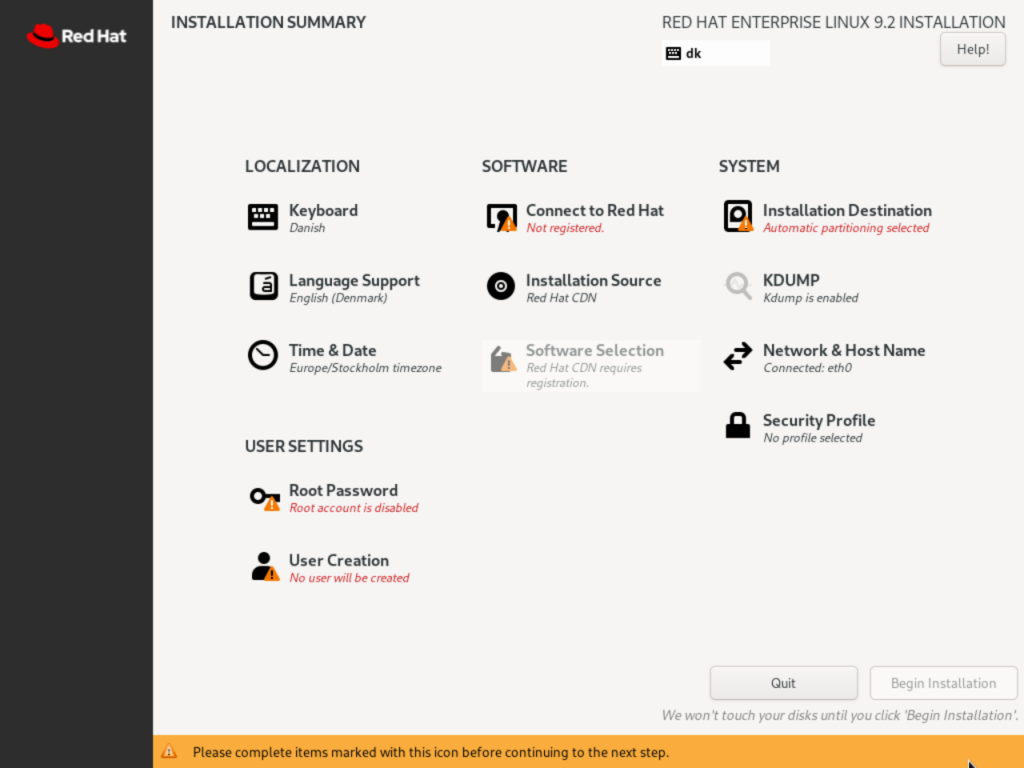
The first thing to choose is a Keyboard. Since I chose “English (Denmark)” on the first page but I am in Sweden and will therefor add a swedish keyboard and remove the danish one.
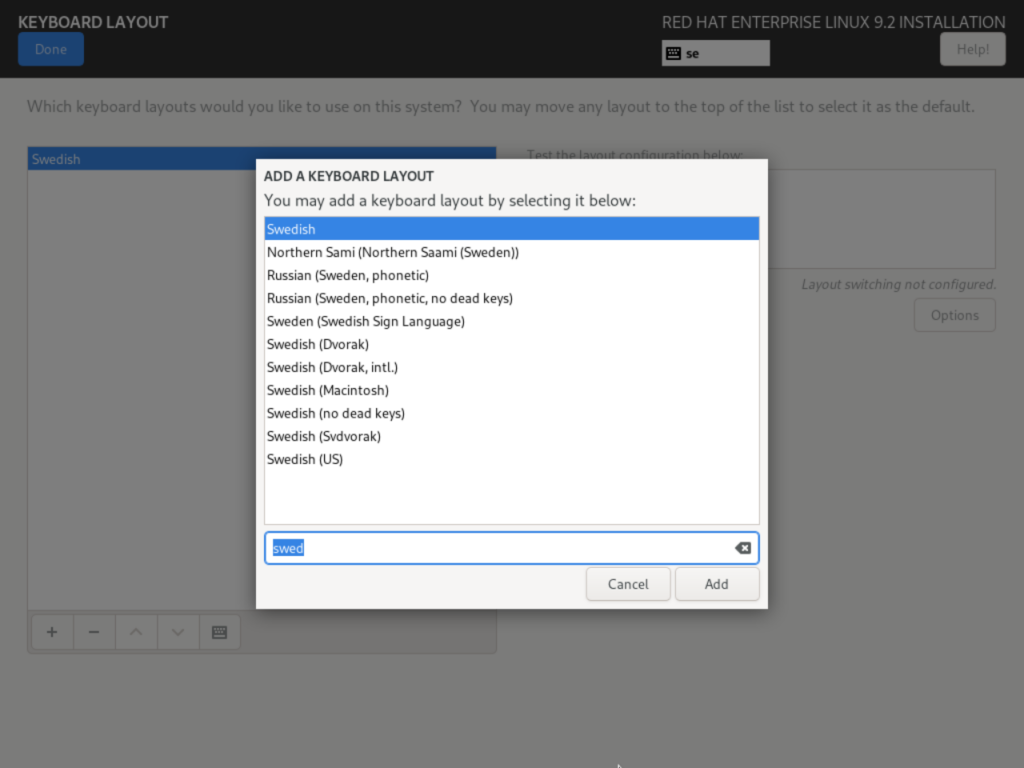
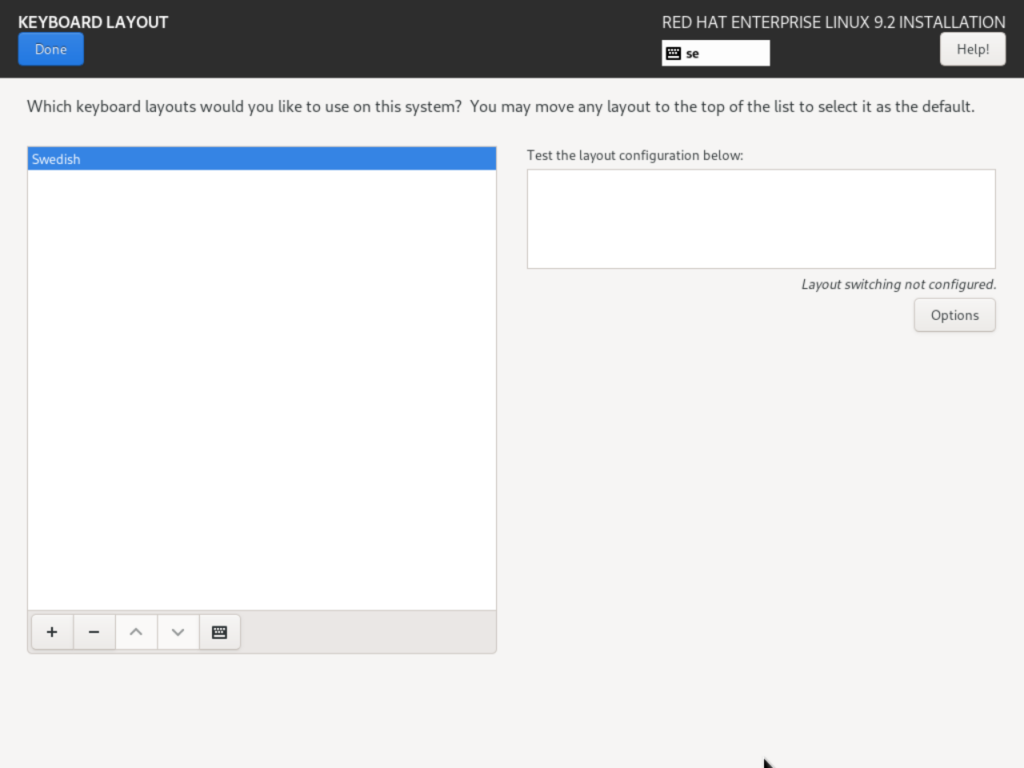
When you have chosen one or more keyboards you want to be available, press Done in the upper left corner. You will come back to the main menu.
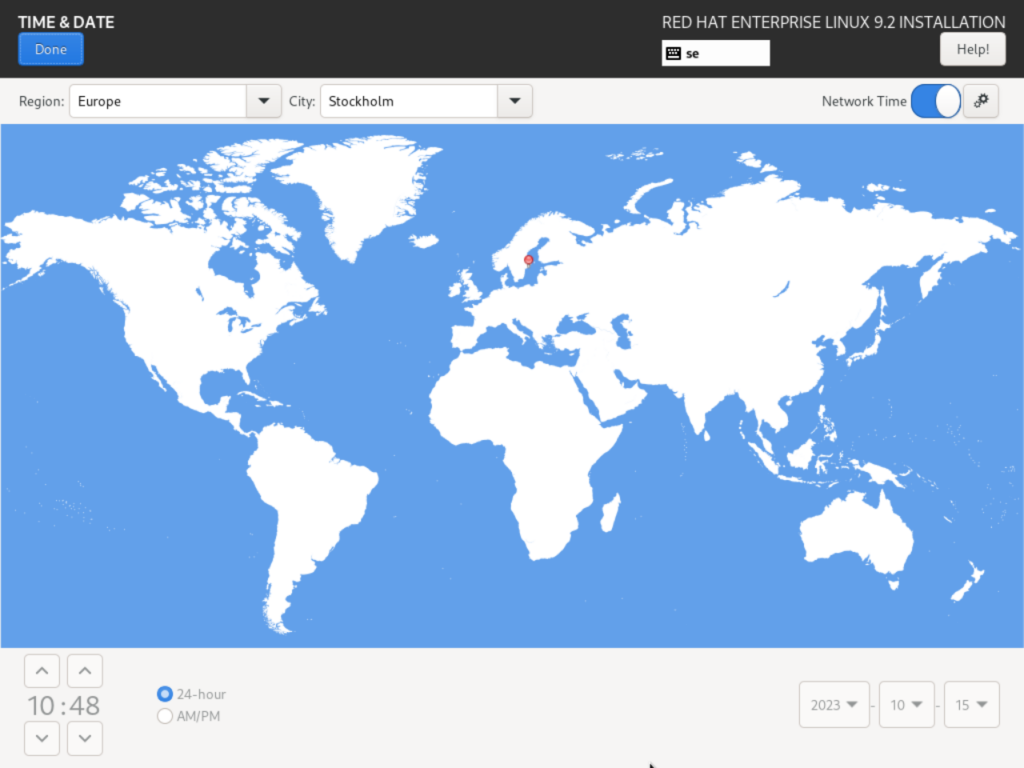
The next page is the “Time & Date” page. Here you choose your time zone. You can use your mouse to click on the map to choose your location.
If your network has been connected, you can also make sure you have an NTP server set up here. Press Done in the upper left corner when you are done.
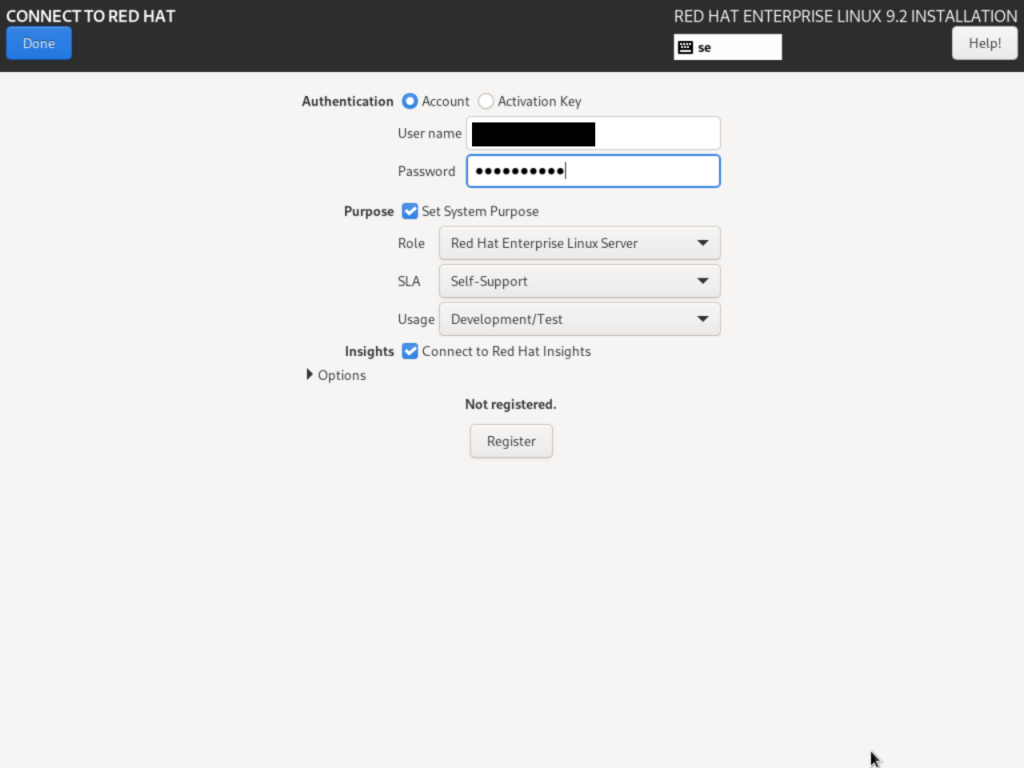
The next page is the one where you connect to Red Hat to verify your license. Log in using your Red Hat account and when you have entered all the information, you can press the Register button
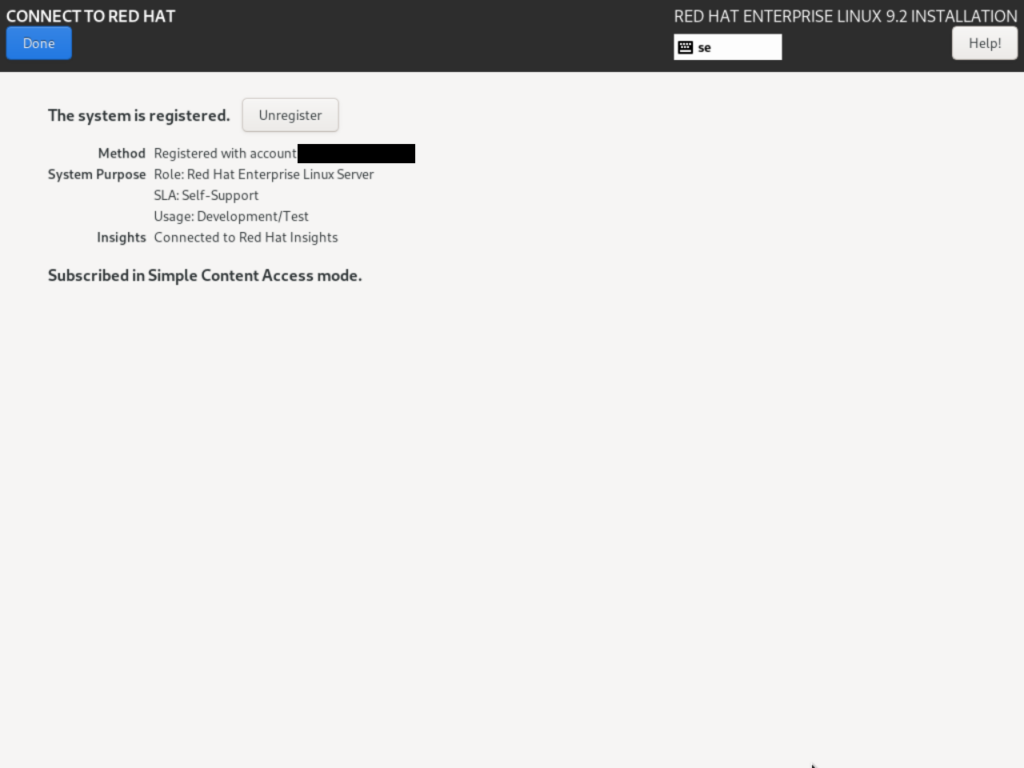
If the registration was successfull, you will see a page informing you about how the system has been registered. Press Done when you are satisfied with the information.
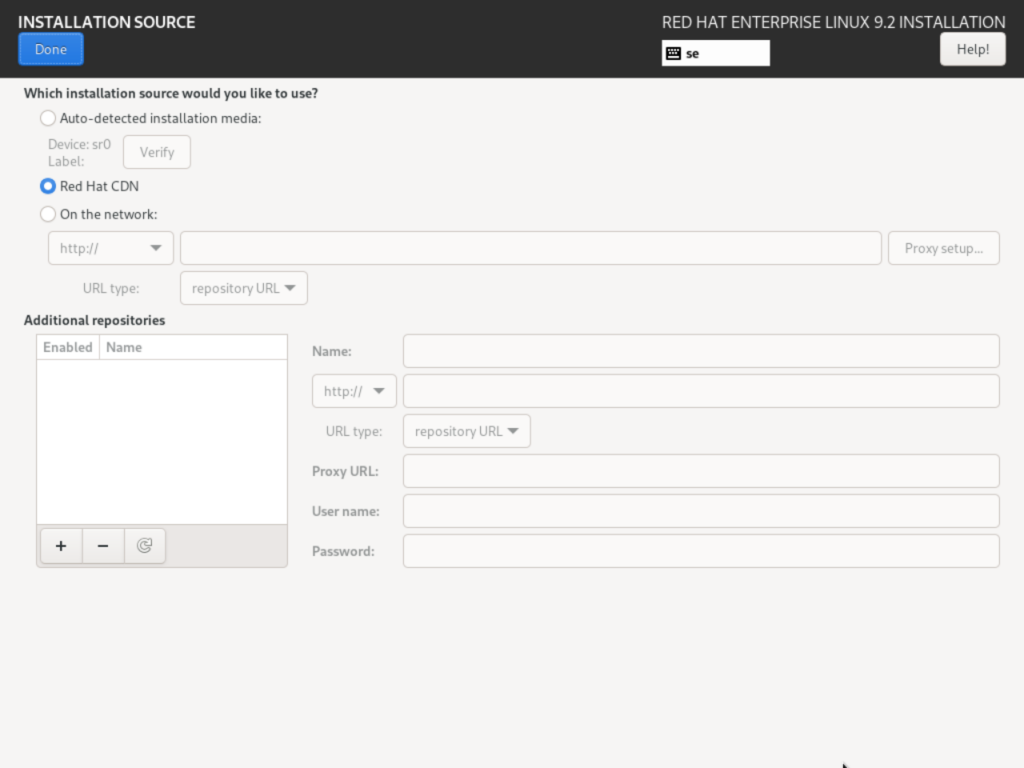
Next, you can choose where to pull the installation files from. I usually don’t make a choice here but uses the defaul “Red Hat CDN”. Press Done in the upper left corner when you have made your choice.
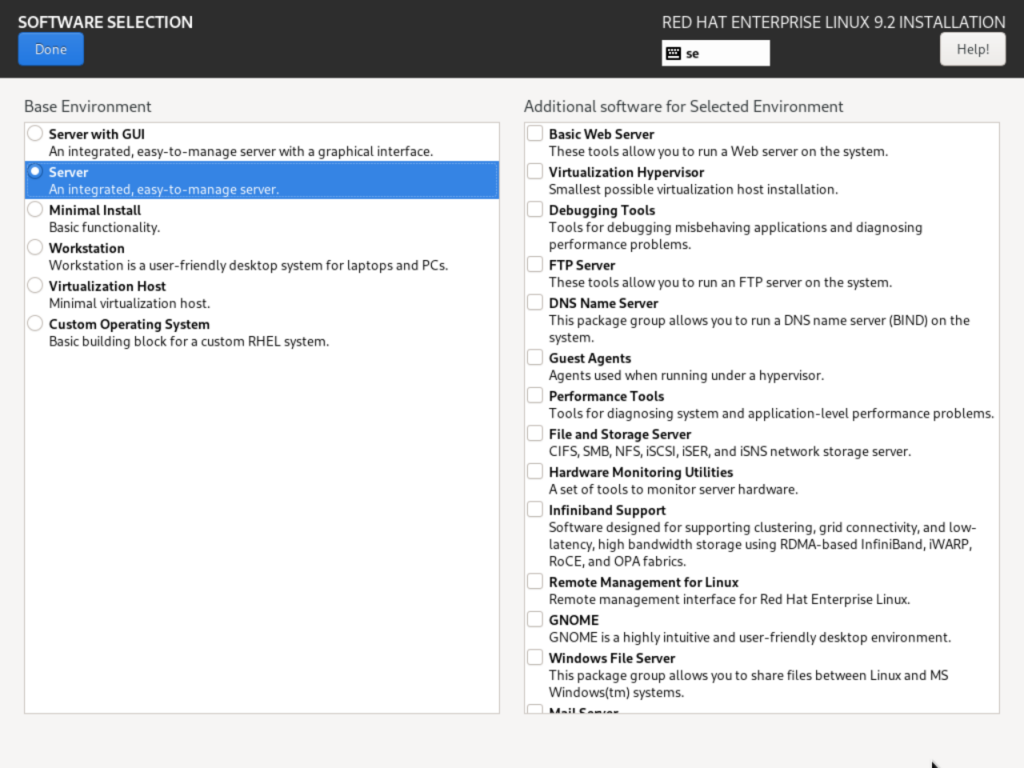
Next, choose what to install. If you don’t need a graphical user interface (GUI), you can choose “Server”. That way you will use less disk space on the computer, will have fewer programs to upgrade and the computer will consume a lot less resorces in the form of CPU and memory. There are some options to the right to install certain feature sets. I usually install these when needed later when the server itself has been installed and is up and running. PRess Done in the upper left corner when you are finished.
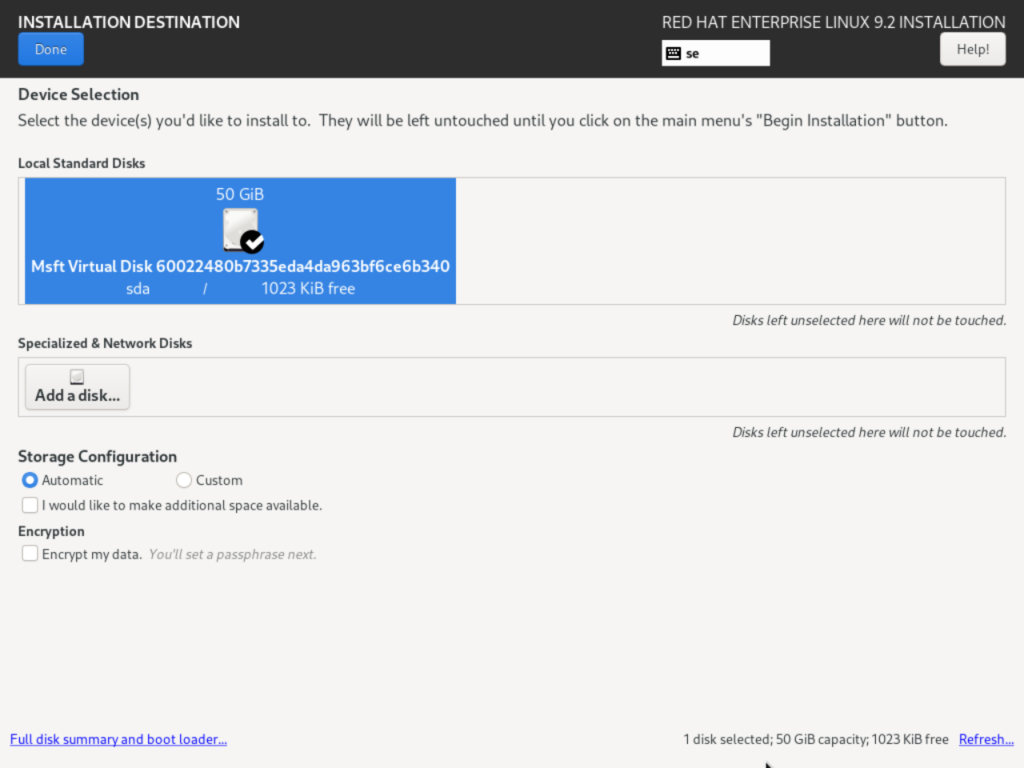
On the page for installation destination, you don’t have to do anything if you are ok with having all your files in one large partition. If this is ok with you, just press Done in the upper left corner.
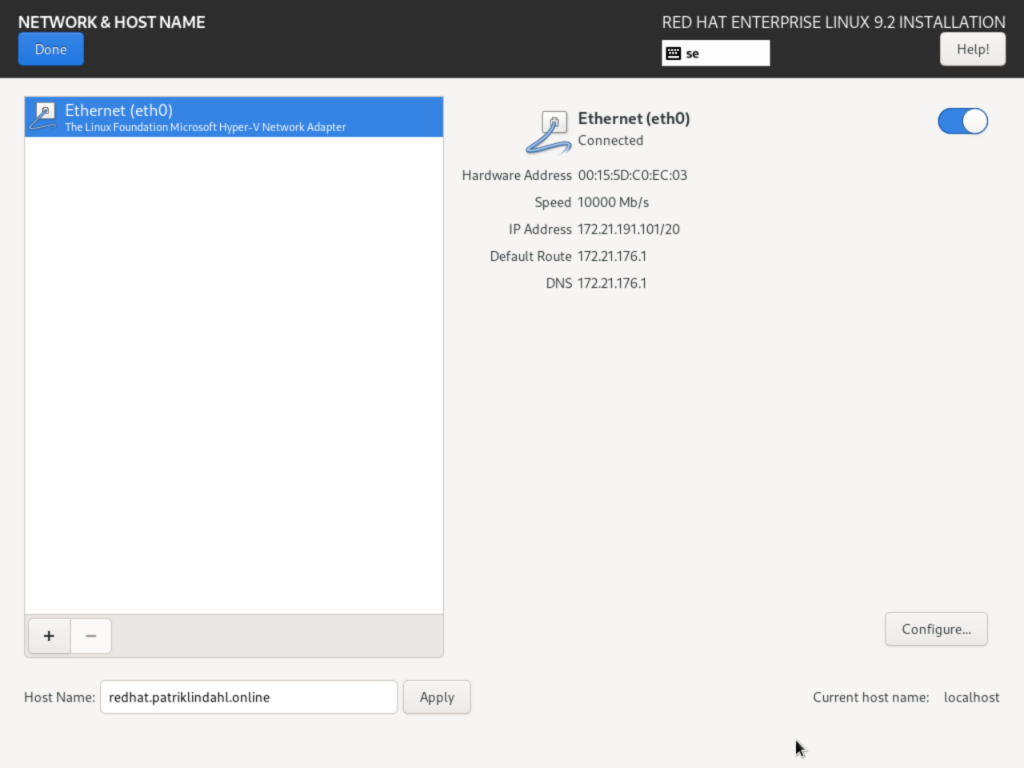
On the page for “Network & Host name”, make sure your network interface card (NIC) is enabled and if you want, choose a name for the computer in the lower left corner. If you do choose another name for the computer, don’t forget to press Apply before pressing Done in the upper left corner.
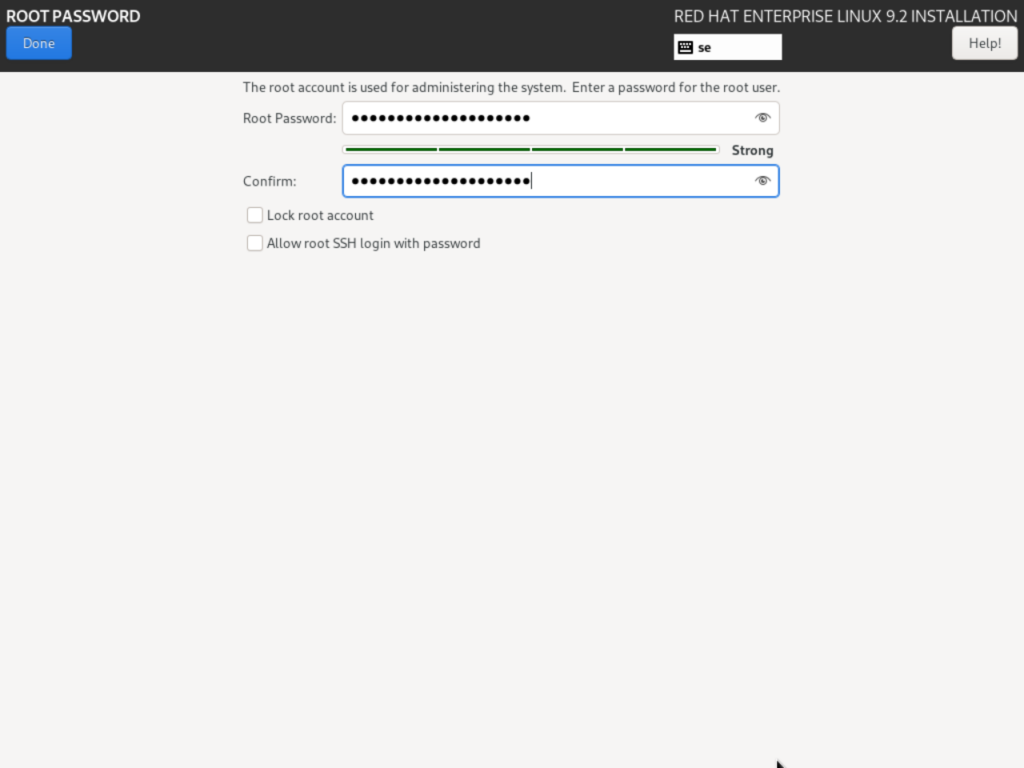
Next, choose a root password for your server. Make sure it’s a long password you can remember. If you leave the two checkboxes unchecked like in the image (the default setting), you will never login using this account but will be using for example Putty or some other SSH client.
For everyday login you will use your account you create in the next step and then elevate that user account to administrator rights to do certain tasks in the server. Press Done when you have entered a good password and confirmed it.
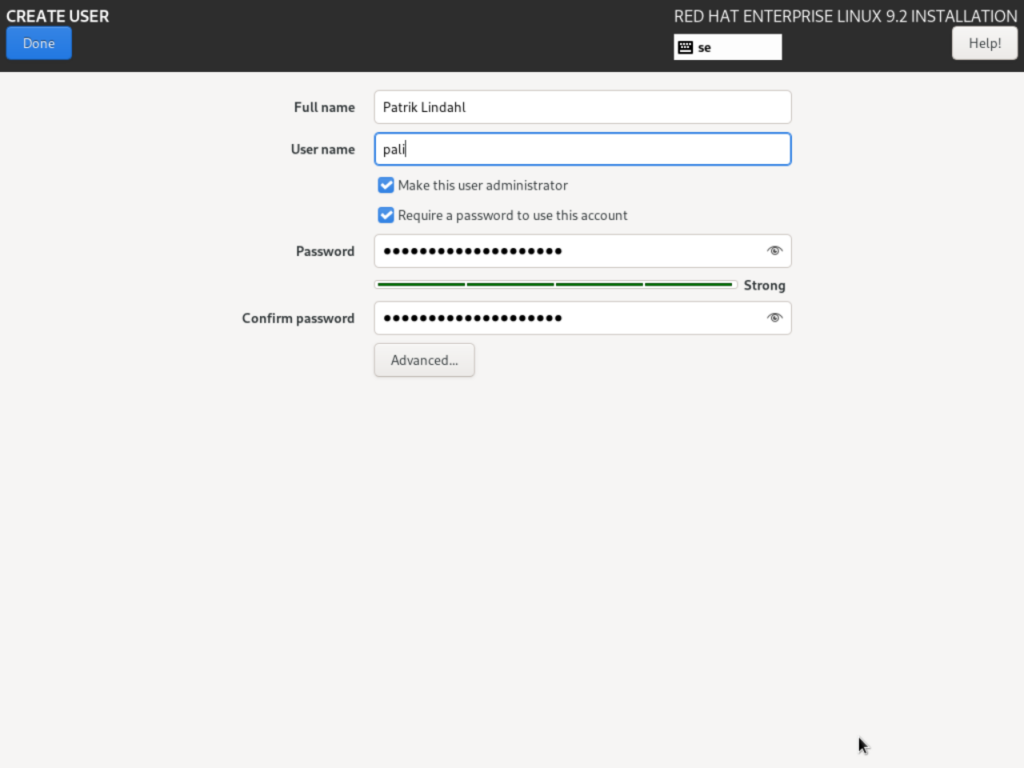
Next, create a user account for your everyday logins. Make sure this user is marked for being an administrator so that you can elevate it to administrator using the “sudo” command. If you forget to do this here, you can do it later in the server by adding your user account to the wheel group.
Choose a password, enter it twice and press Done in the upper left corner.
You should now be all set and you can press the “Begin Installation” button in the lower right corner of the page.
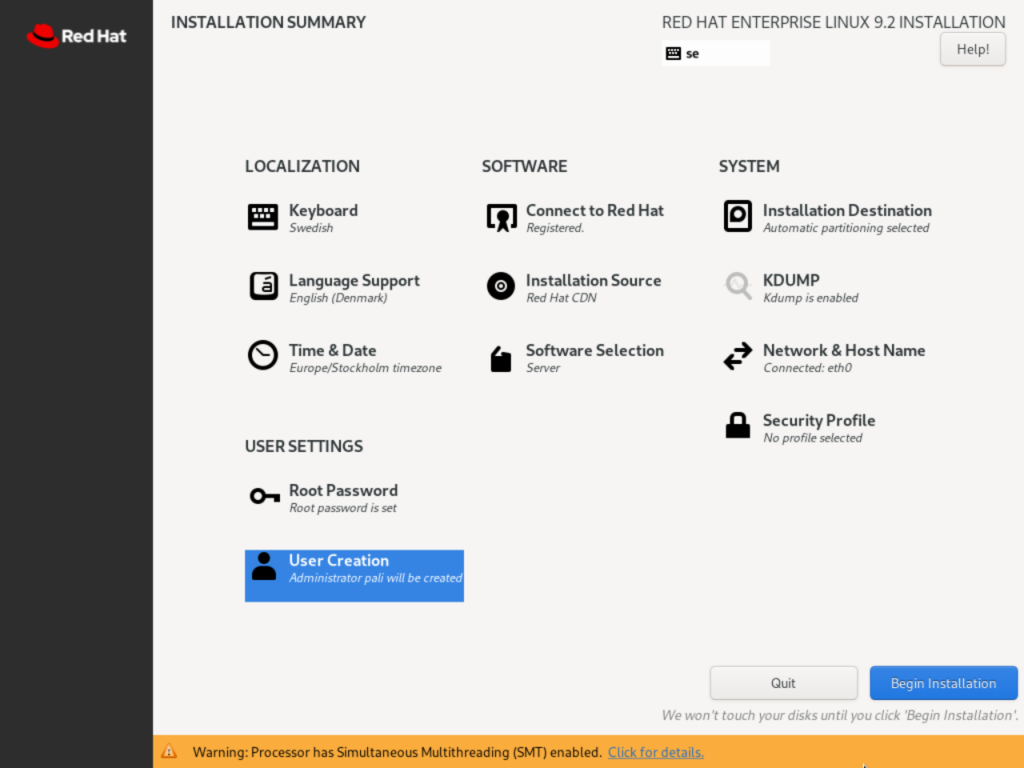
This process will take some time so do something else for a while and come back.
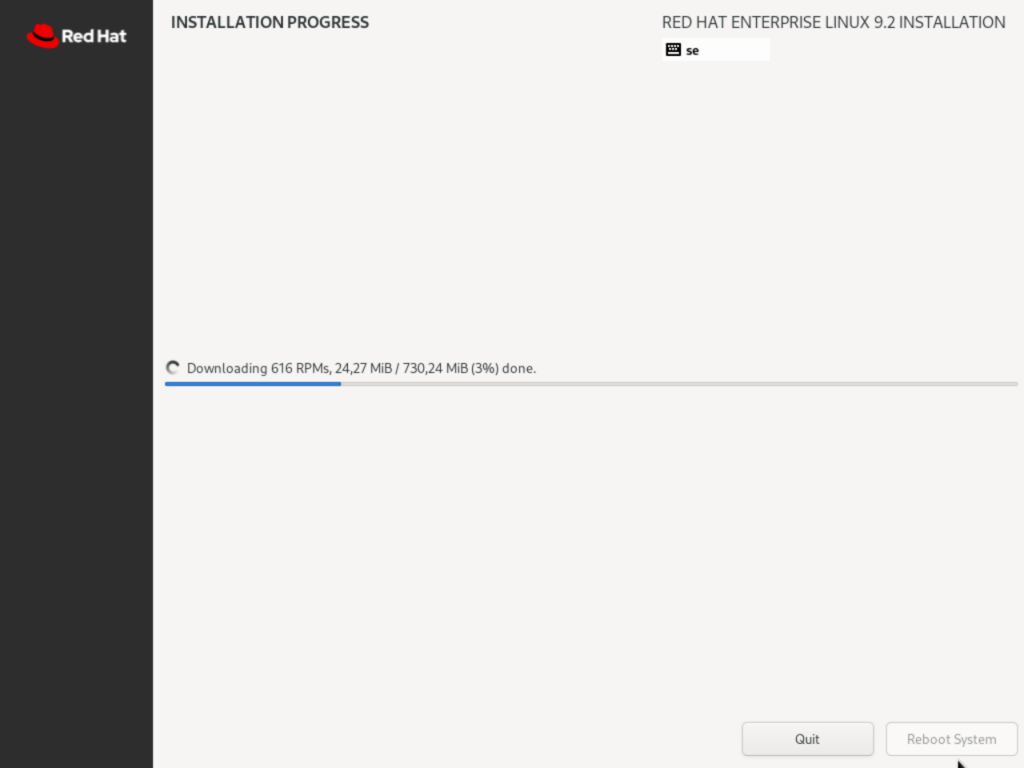
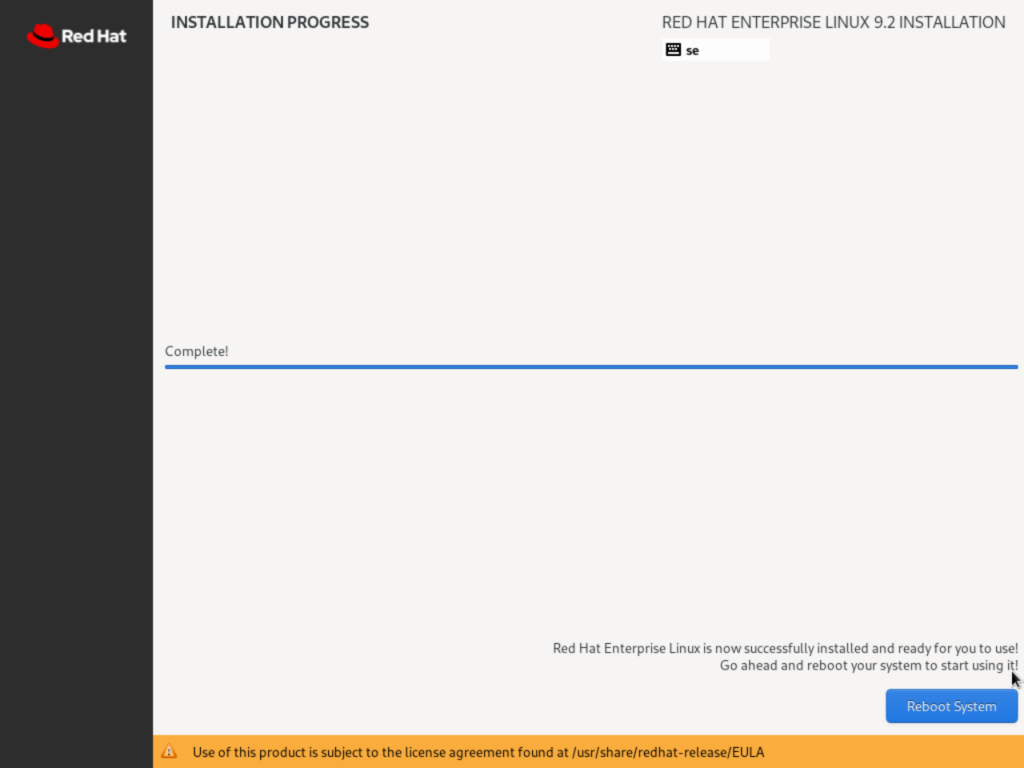
When the installation is completed, the “Reboot System” button will light up and you can press it.
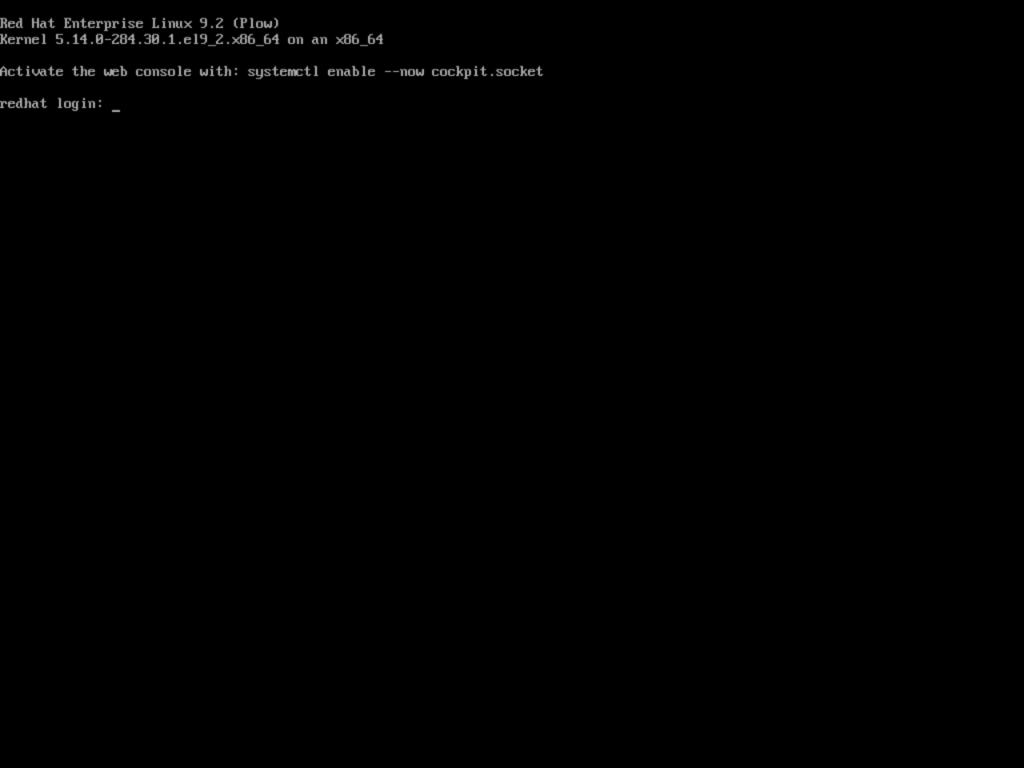
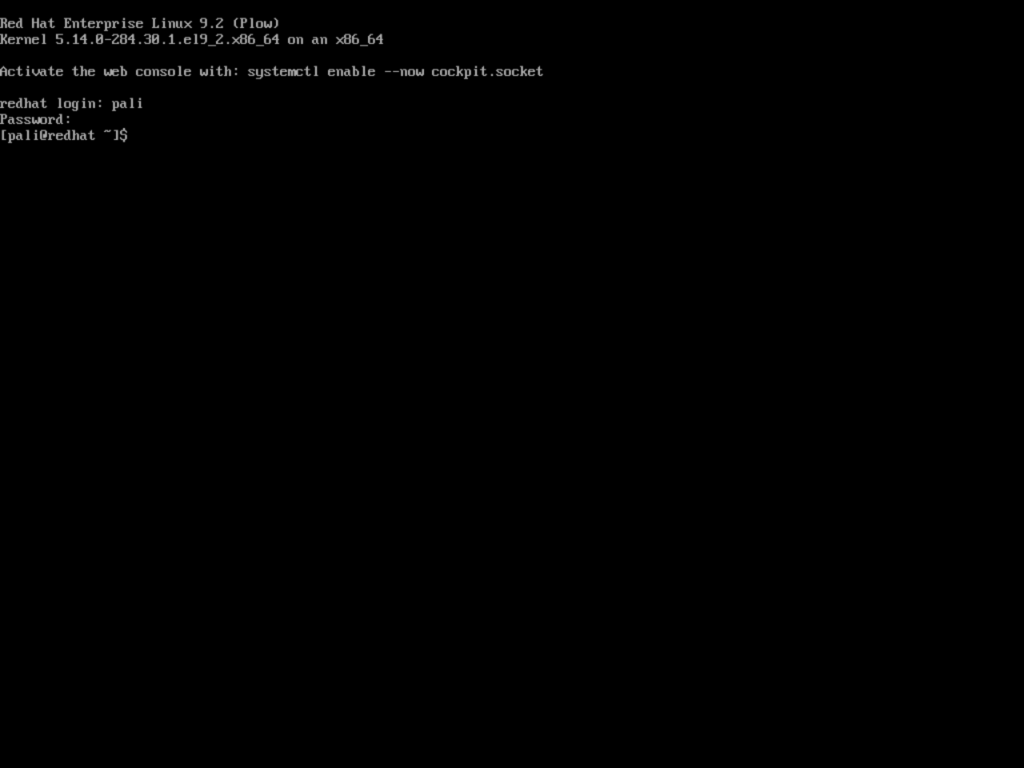
When the server has restarted, you will be presented with a login prompt (a graphical one if you chose to use Server with GUI in a previous step). Try to login using your user account.
If everything worked, you should now be logged in to your new Red Hat computer!
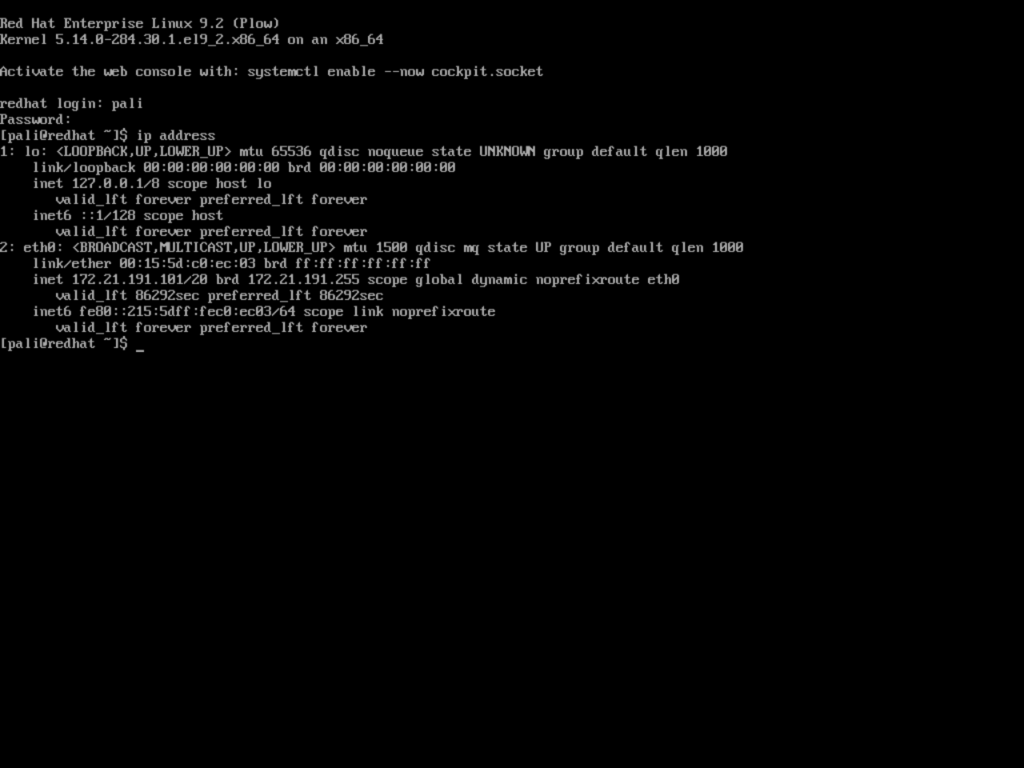
To check your ip address, just type the command “ip address” and you will get the information about all you NICs. In the below image the computer received the IP address 172.21.191.101 from the DHCP server.
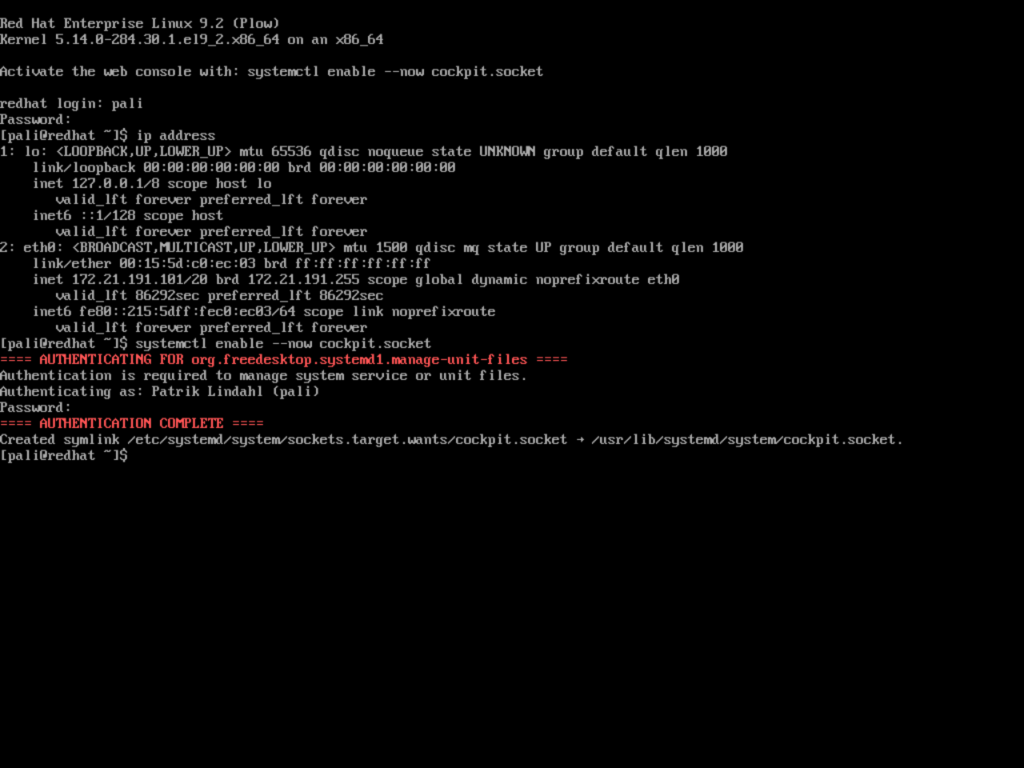
There is a great little program called Cockpit that can be activated on the computer. This program will enable a web server with a graphical, easily managed interface to administer the computer. If you want to give it a try, run the command “systemctl enable –now cockpit.socket”. You will need to verify your command by re-entering your password. Do that and press enter. You can of course also run the command with “sudo” in front of it and perform the same thing but in a slighty different syntax.
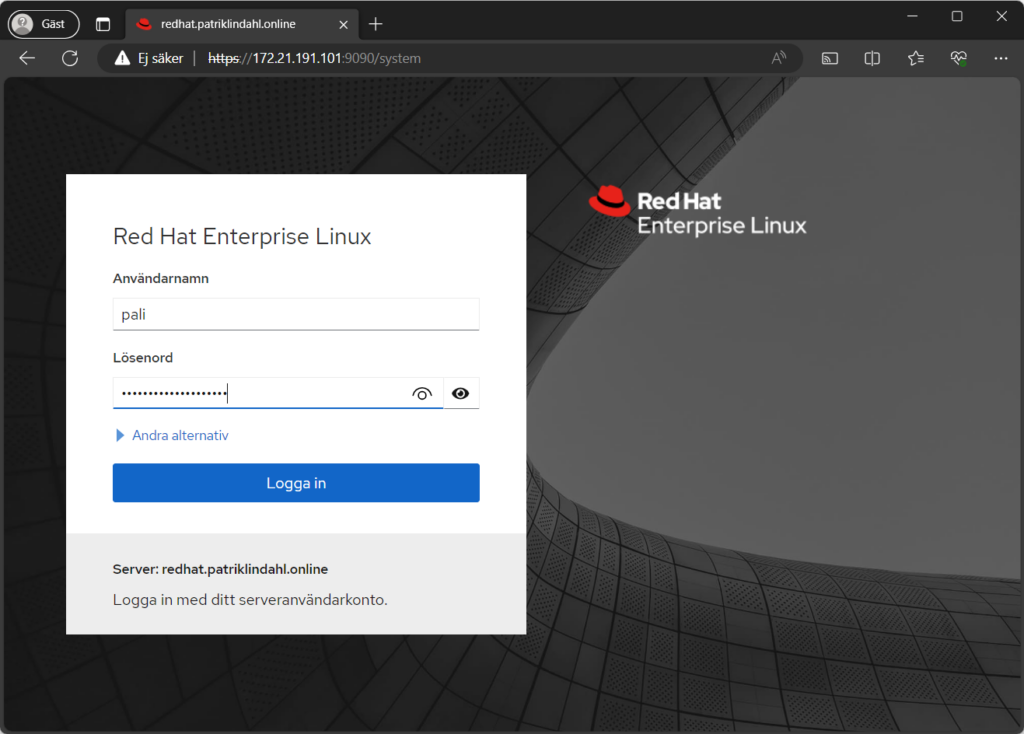
If you enabled Cockpit, you will now have a web page you can login to. The port for the service os 9090 and since my IP address was 172.21.191.101, the web address I enter into my webbrowser will be “https://172.21.191.101:9090”. I will then come to the below page.
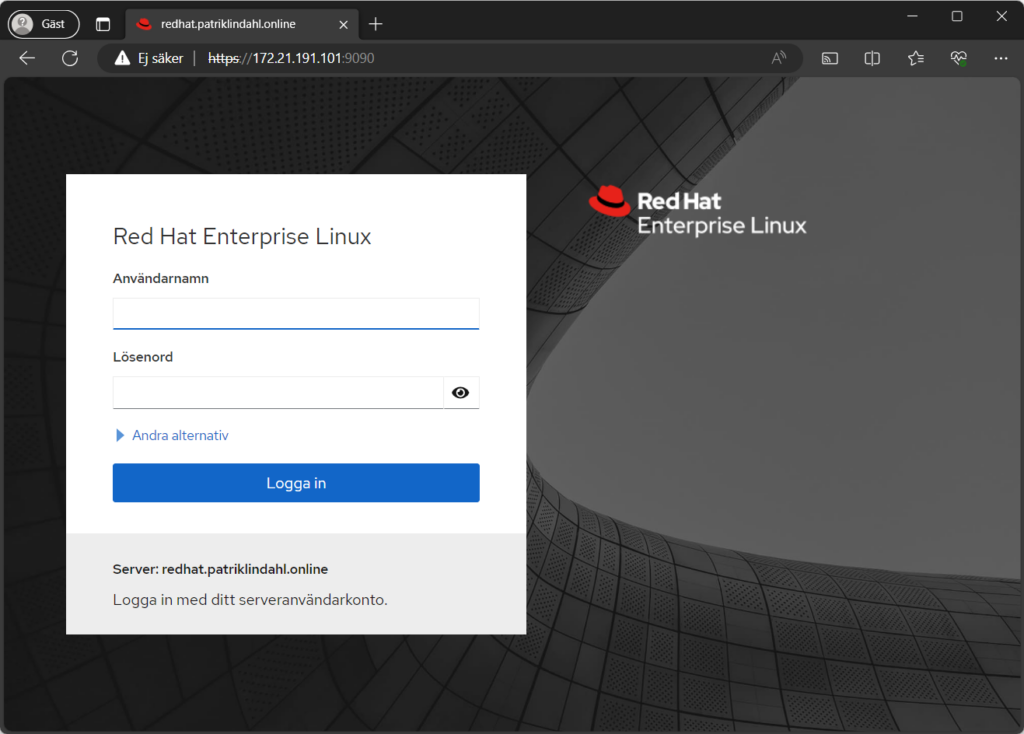
Use the same credentials you used previously to login to the server to log in here.
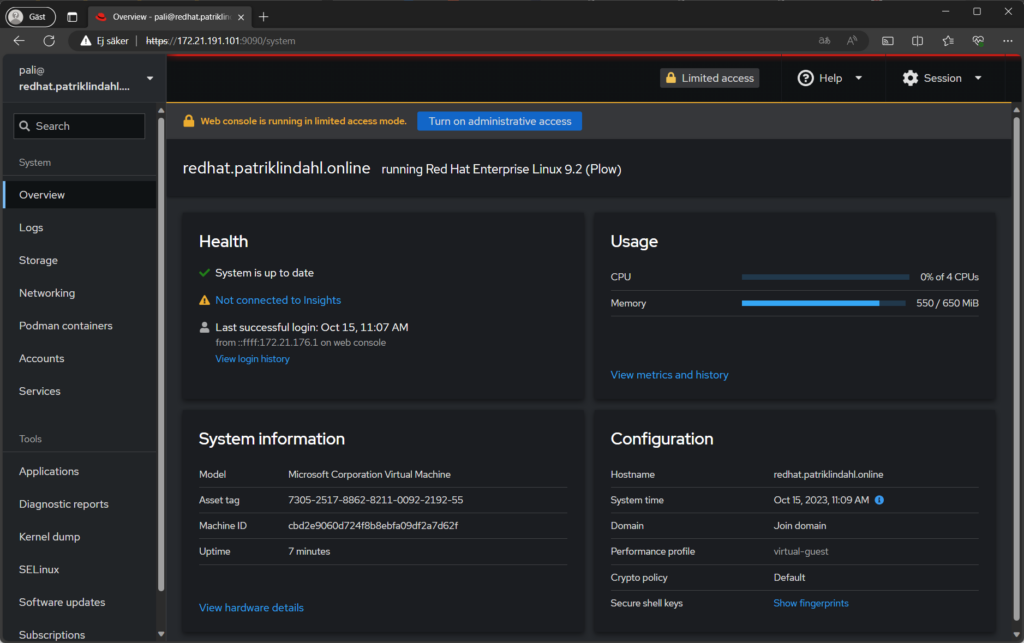
Like with the ordinary interface, you are logged in with limited permissions in the system. To elevate your session to administrator, press the blue button”Turn on administrative access”.
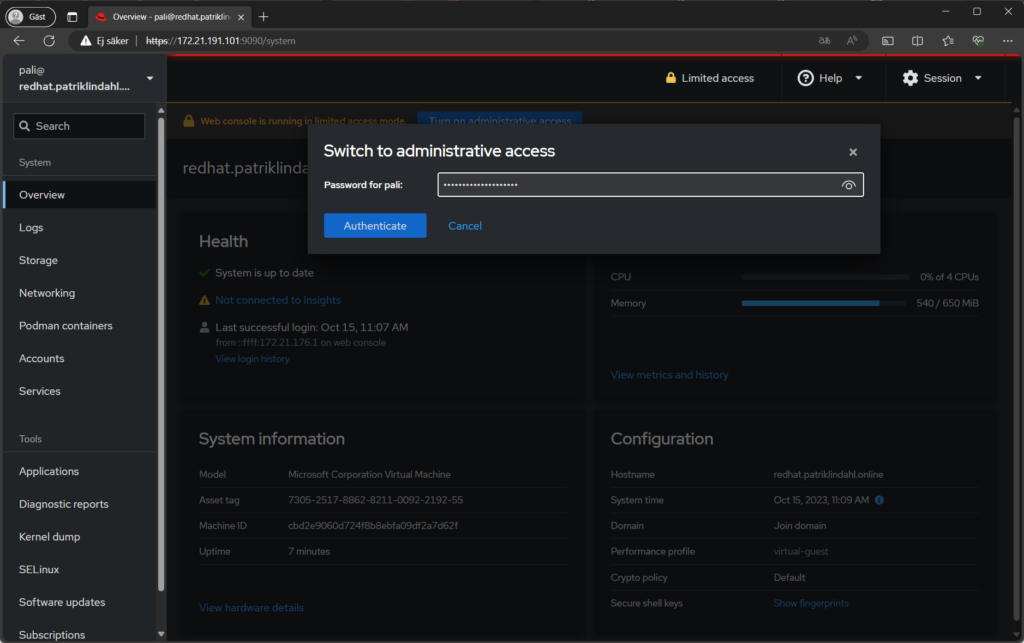
You will get a login page, enter your password again, like you do when using the sudo command for example. Press Authenticte.
You now have access to all the features of the server that cockpit supports in its default installation. There are addons to be installed if you want more features, They can be found on the Cockpit webpage here.
